I hope you like the night sky photography images I post on this page which will be updated as I take new photos. I am using all the astrophotography techniques I describe here to create these. If you want to know how you can do astrophotography then explore this website, you’re definitely in the right place!
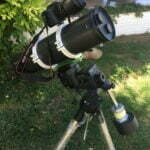
Here are a small number of photos and images I have taken recently with my Celestron 130slt telescope and Canon 600D (modified for astrophotography in October 2020). Most of these photos are taken from my back garden in Cesme, Turkey which is a Bortle 5 site, but sometimes I also venture out to darker skies.
I used an SVbony CLS filter until October 2020 when I began using the Optolong L-Pro Max for light pollution and to capture more light. Most of these images are stacked except for the Comet pictures which are one-shot (such as this one of Comet Neowise below).
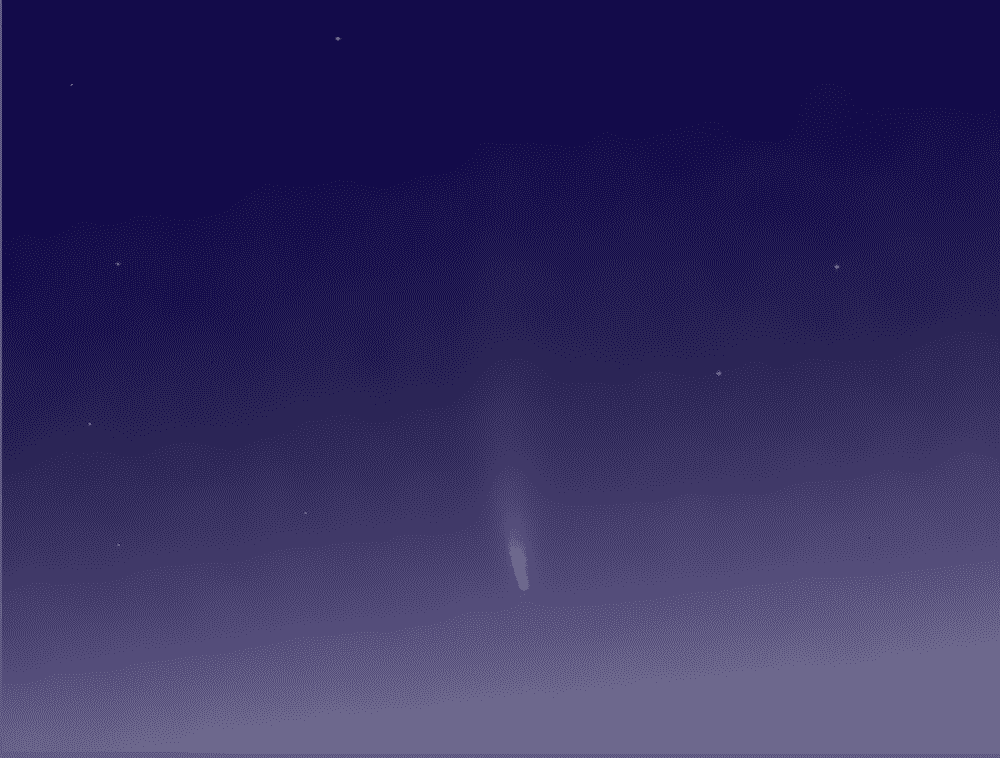
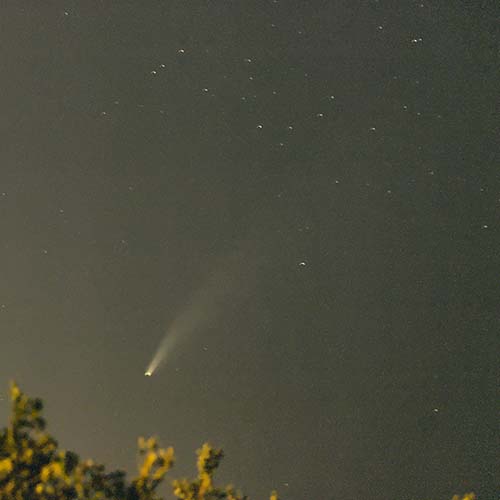
Photographing a Comet for the First Time
Comet Neowise was spectacular! It was also one of my first major night sky photography imaging targets that appeared on my list shortly after buying my DSLR camera and telescope.
I quickly decided to have a go at viewing and photographing a comet, something I had never done nor seen before in my life! It was also a good introduction to astrophotography with a DSLR camera.
The two shots you see above were taken with my Canon 600D and my only lens, an EFS Canon 17-85mm, F 4-5.6. This lens is not an ideal night sky photography lens but is acceptable for wide-view shots set to 17mm.
I took the first image from down the road by the sea away from most of the houses to avoid light pollution and the second shot was actually taken in the early evening from our balcony facing West.
Photographing the Milky Way
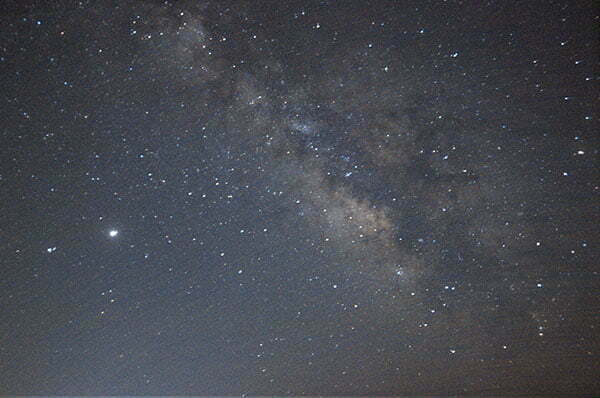
This image, (above), of the Milky Way, was shot from a Bortle 4 site in Alacati during the summer. I took this one as one of my first attempts at this kind of night sky photography. I never knew before that we could take photographs of the Milky Way! What an eye-opener this was. Learn how to take photographs of the milky way.
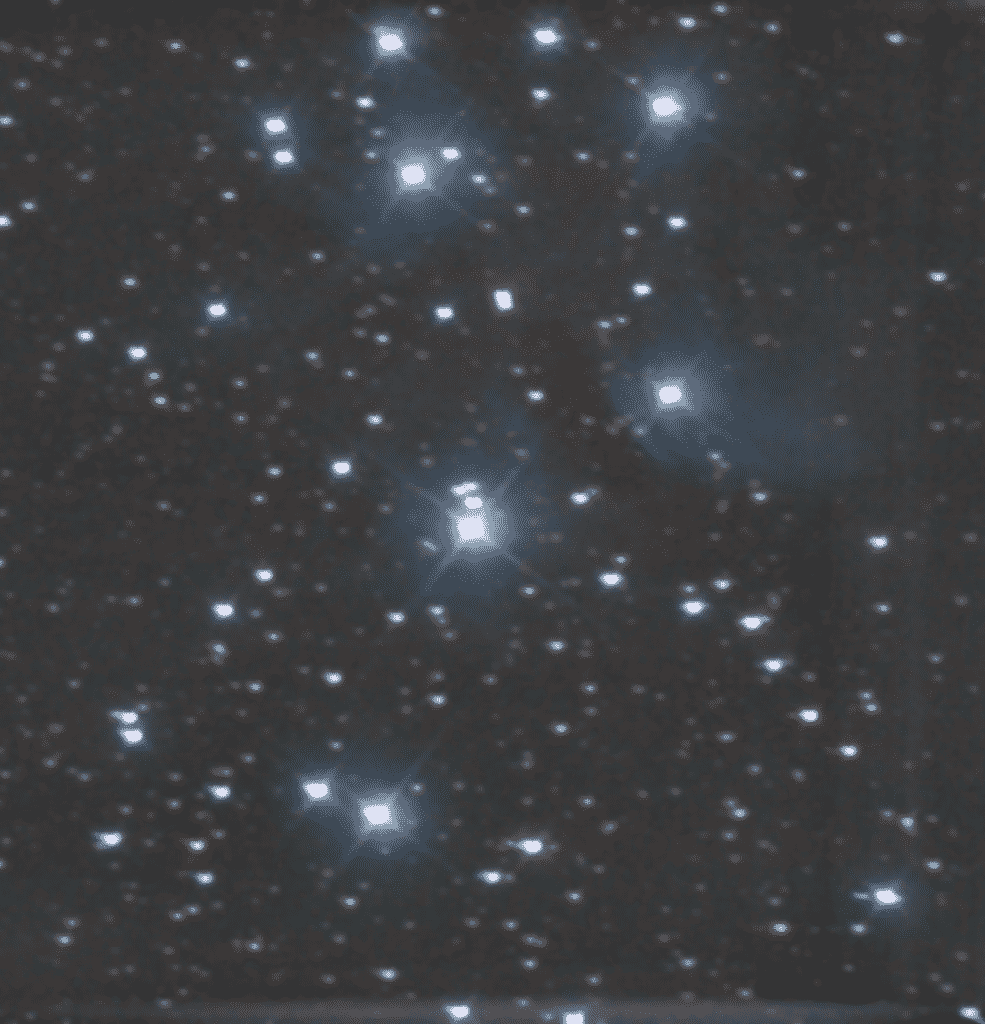
I first tried to image Pleides late in the summer because of the wonderful photos I had seen online and because of the many YouTube videos that talked about how to photograph this wonderful star cluster. Although I managed to image it, I want to capture much more of the nebulosity than you see here in my first attempts. I will return to this target as it always seems to be available in the night sky.
One reason for the lack of nebulosity is the short exposure. I captured it first with 30-second exposures and later with 60-second exposures. I believe it may require up to 2-3 minutes to get enough nebulosity, so this will be one of my top astrophotography imaging targets for the future. With an equatorial mount and guiding, (more spending needed on new equipment!), I may be able to extend the possible exposure time. Stand by for news of this target coming soon.
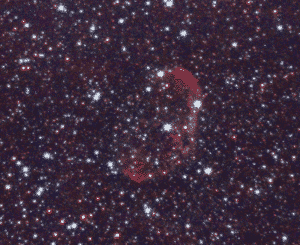
I keep coming back to this target to add more time to the exposure and the result above is satisfying for me at the moment. It can be better for sure but again I need more exposure time. The Crescent Nebula is a fascinating target and quite beautiful!
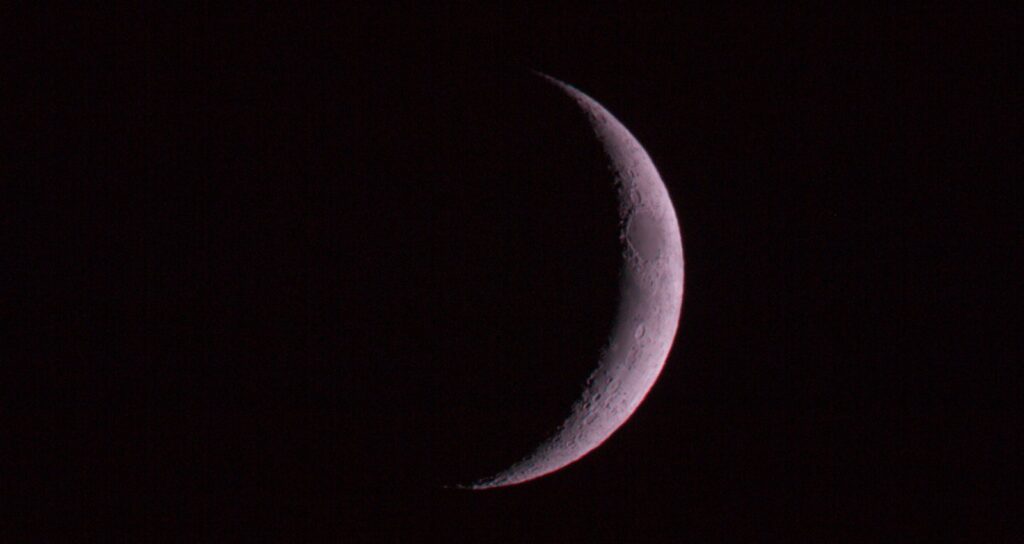
I quickly discovered that the Moon is by far the easiest night sky photography imaging target for beginners and suitable for those with the most basic equipment. This is where I first began my astrophotography journey and even took some photos of it with my iPhone! They were a bit rough and ready and I’m not including those first few images here.
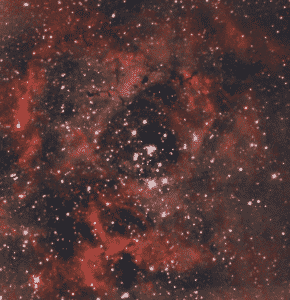
Probably, up to this point, the Rosette Nebula (Caldwell 49), is the most beautiful deep sky object I have photographed. I couldn’t see anything at all in my telescope but after stacking many of these images, (the above image is about 3 hours of total exposure with each shot 60 seconds), the beautiful “Rose in the sky”, as I call it appeared out of the darkness. Amazing! This is the power of astrophotography image stacking.
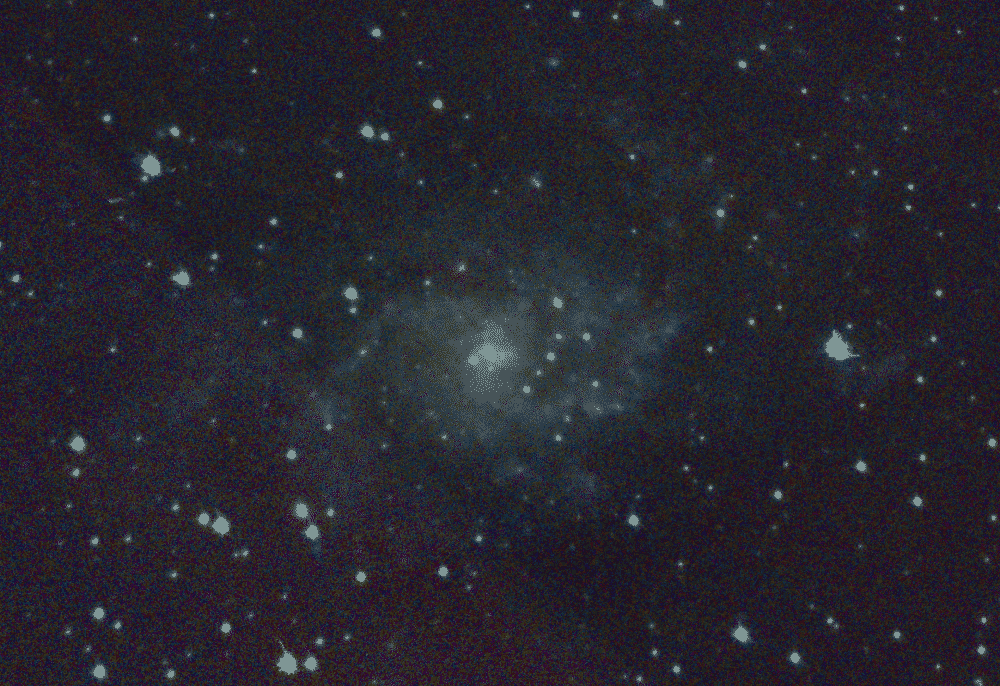
The Trıangulum Galaxy (M33) was one of two galaxies I first attempted to image. The other was Andromeda. M33 was a much easier imaging target for me and after about 4 hours of total exposure, the above image was the result. I am sure I can improve on this.
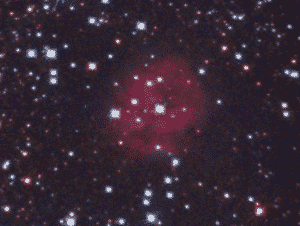
Clearly, more work on this one is needed! It’s very small in the field of view of my telescope, but the beginnings of a great image is there. Perhaps this nebula must wait until I have more experience and better equipment.
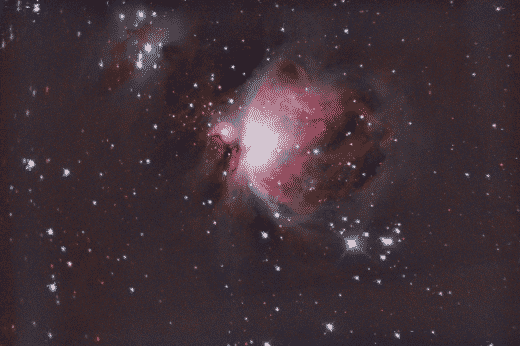
One of the easiest and brightest deep-sky objects in the sky! I can easily see this in my telescope and at 30 seconds and more total exposure time the details begin to emerge from this amazing and beautiful nebula. Any beginner can start with this target and be happy with whatever results they get. I have taken four or five images and each one is much better than the last. Above the nebula and to the left is another nebula, the Running Man. Can you see him?
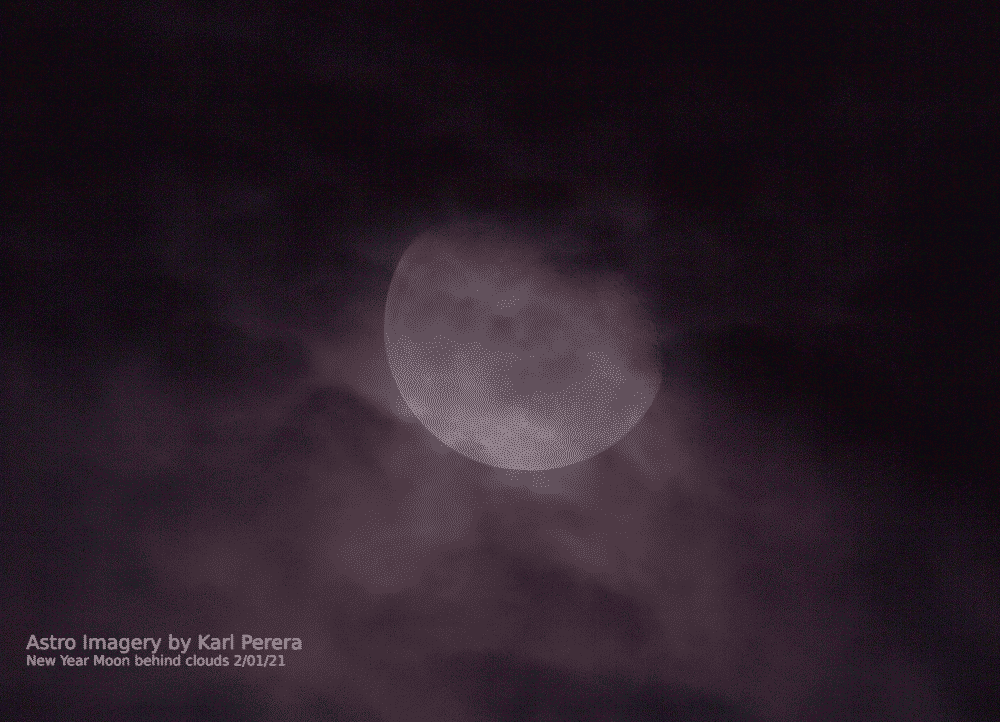
I took this last shot of the moon a couple of days ago when the clouds began rolling in (yes, even in Turkey!) I like it very much and see that there is a soft pink glow to the moon. Hope you like this amazing image.
These are just a small selection of some of my astrophotos and I will be adding more as I take them. So please come back to check out the latest updates.
I am also planning to post specific pages focusing on how I shot different targets and to give some background information on the targets themselves as well as the techniques and equipment I use as part of my astrophotography workflow.
More of My Night Sky Photography from 2021
As 2021 has passed my nights have been limited during the winter. As spring and summer arrived I managed to get back outside in the garden and off on a small trip or two to darker skies where the streetlights are not a problem.
Here is a selection of my most recent night sky photography images so far this year.
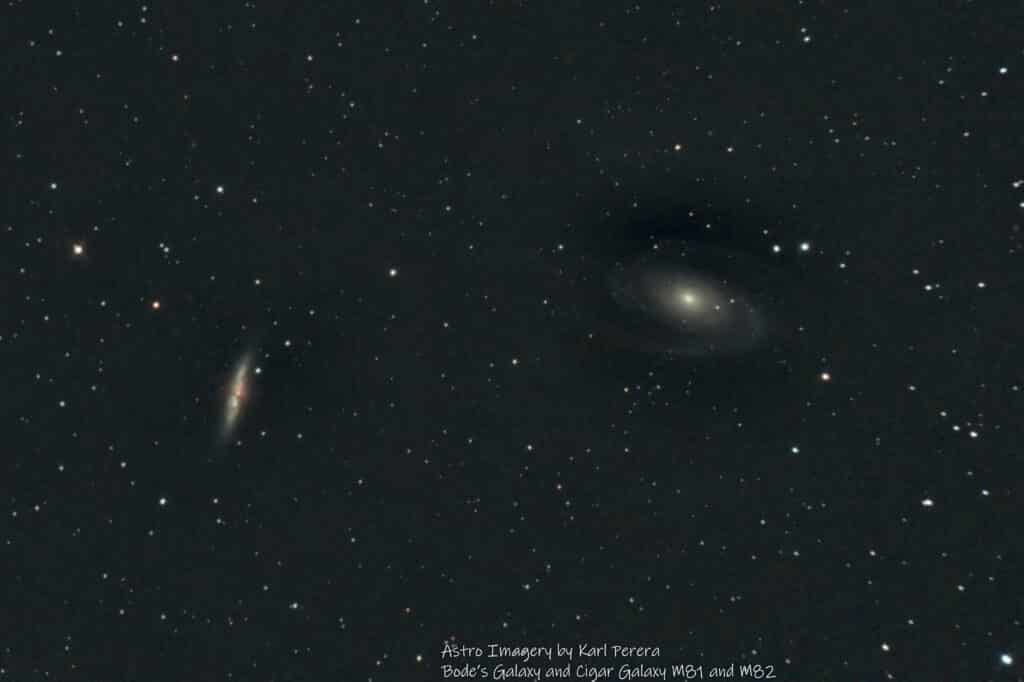
I would say this is probably one of my first successful galaxy images. The others I captured before this were not as good but I was very new to the hobby of astrophotography. I think Bode’s Galaxy is elegant and just take a close look at Messier 82, (The Cigar Galaxy), its partner! Wow, there is some extreme detail there to image in the future!
Check out my helpful post which answers the question – is it possible to see galaxies in a telescope?
What blows me away is that I have imaged galaxies so far away. Bode’s Galaxy is approximately 12,000,000 light years away! traveling at the speed of light which is currently impossible, it would take us 12 million years to get there!
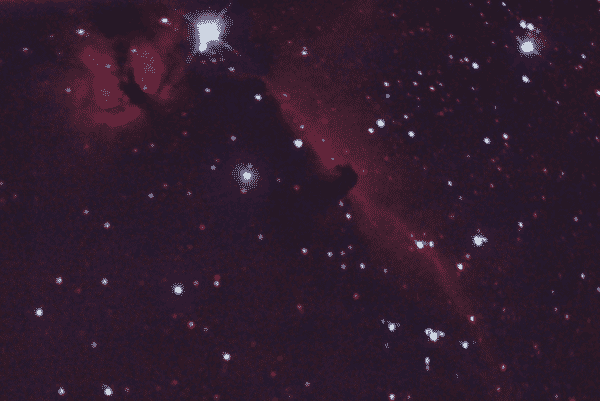
This is the Horsehead Nebula, and I think it is absolutely stunning! It’s quite easy to image this one. So if you’re new to night sky photography, try it when it’s up in the sky in the winter months.
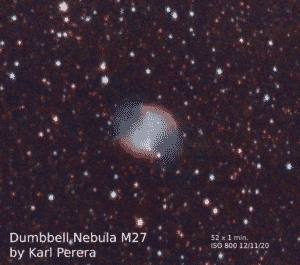
This is just 52 minutes of imaging time, each exposure is 1 minute long. This is an easy target to image because it is so bright and can actually be seen in the telescope. I found it very easy to find and center in my eyepiece, which makes a change as so much of this hobby seems to be done with nothing on the camera but a black image.
How Did I Take These Astrophotography Images?
In night sky photography, we can’t just take a photo like normal and get a fantastic photo of a nebula or a galaxy. There are several steps you need to follow if you want to take pictures of the night sky and this becomes even more complicated when photographing deep sky objects.
Basically, to get the above images I used a telescope and attached a DSLR camera to the eyepiece opening. Check here to find out which telescope is best for astrophotography. As a beginner, I had to learn how to connect the camera to the telescope and how to take a picture of the night sky in the dark. Then I had to learn about stacking astrophotography images using software on my laptop.
In short, astrophotography imaging involves taking many separate photos, sometimes hours worth and possibly hundreds of them at the same exposure and ISO level, and combining these into a final RAW image.
Once you have a RAW image, which looks almost completely black and featureless in most cases, you can import it into processing software such as Photoshop where you can bring out the details.
What Equipment Did I Use to Take My Photos of Space?
I used the following equipment:
- Telescope: Celestron 130mm SLT reflector telescope with alt-az. mount.
- Later in 2021 I upgraded to ioptron CEM26 Equatorial mount and either used the same telescope tube or my DSLR camera with a lens.
- My Camera is a Canon 600D modified for astrophotography.
- The Lenses I have used are Canon EF 17-85mm and EF 70-300mm.
- I have used light pollution filters for some of the shots. I have an Optolong L Pro and an SV Bony CLS filter.
What Skills Did I Have To Learn To Take These Astrophotos?
I had to learn a number of things before I could take the photos above. If you want to take astrophotography images like mine, you need to learn these skills too. These include:
- Photography and manual camera settings
- How to use a telescope and how it works
- How to take photos with a telescope and DSLR camera
- How to take long-exposure photos
- How to align and track the stars and objects in the sky
- How to stack and process the images on the computer
Once you begin to understand these things you can learn with practice and trial and error. An example of what is possible with a small telescope, DSLR, and stacking is my images of Markarian’s Chain, a group of galaxies that is impossible to see in my telescope but reveals itself with stacking and post-processing of many photographs.
Some believe that success in astrophotography depends on expensive equipment but this is only partly true. You don’t have to buy the best cameras for night sky photography. You cantake great pictures with a simple model DSLR like I have.
