One of the joys of deep sky astrophotography is galaxy imaging. These are not always easy targets but are well worth the effort. Just think for a moment, photographing something hundreds of millions of light years away that contains billions of stars and countless planets, perhaps inhabited worlds that are so far away we can only dream of going there.
In this post, I am going to show you how to image a galaxy and what problems you may encounter when trying to do this. We’ll discuss how you can overcome these problems and capture the best details possible with the equipment you have. We’ll also consider several popular galaxies and consider how easy or difficult they are to image.
There are two ways to image a galaxy in deep space. The first is to capture it by taking many photographs with a DSLR camera, stacking them, and processing the image. The second is to use a camera and telescope together, stack, and process. The results will depend on your equipment, the amount of time you spend photographing it, and your image processing skills.
I’ll also show you what I have learned in my efforts to photograph various galaxies and what I plan to image next. Remember also that there are many kinds of galaxies. If you are going to image them, you should learn about lenticular galaxies and other kinds that you will observe through your telescope.
What are some common challenges when galaxy imaging, and how can they be overcome?
Here are some of the main challenges that you may face when trying to image galaxies:
- Galaxies are so faint that you cannot easily see them until you have either taken a sufficiently long exposure or stacked together a number of images. This will make it difficult to know if you have centred the galaxy in your field of view or not.
- Light pollution can really impact your image contrast.
- Filters can cut out part of your galaxy’s light; generally, galaxies are broadband targets.
- A galaxy may have very bright areas, such as its core, and very dim areas, so capturing all of these in detail is not easy.
- Some galaxies are very small, whereas others are large, so the field of view of your lens or telescope has a big effect on the final image.
- It can be quite complicated to process the galaxy image in order to get a good result with nice colour balance and detail. The processing technique is quite different from that you can use to process the image of a nebula or other deep sky object.
Most of these issues can be overcome by following the techniques in the following section. Experience in processing and taking images of various galaxies will help you to improve your skills so that each time you return to a galaxy, you will be able to obtain a better result. As with most things in astrophotography, using your own equipment is the best way to improve.
Here’s a great DSLR for capturing those galaxies:
I do have some suggestions for how to overcome some of the above issues, but I am also still learning how to perfect my methods of galaxy imaging.
Before reading on, it might be a good idea to read this about seeing galaxies through a telescope.
The first problem is locating and centering your galaxy. One solution I now use is to utilise plate-solving, which removes a lot of the guesswork from this. The coordinates of your target galaxy are enough to find it with a tool like the Astrophotography Tool (this is the tool I use, but others prefer software such as NINA, etc.). Plate-solving not only locates your galaxy, but it also places it exactly in the centre of your field of view.
Light pollution is unfortunately an issue with galaxies because certain wavelengths of light that are given off by artificial light, such as street lamps, are also present in your target. This means that using certain filters may impact your galaxy. I have found that this is more important for certain galaxies than others. I had problems using an Astronomik CLS filter when imaging the Andromeda Galaxy and fixed this by using an Ioptron L-Pro filter which worked much better.
If light pollution is a problem in your imaging location, then you may need to use a filter, so choose carefully and experiment to make sure, as I did, that it does degrade your galaxy image.
The best solution for this is to go to a dark location and try imaging the galaxy higher up in the sky without a filter and then use your post-processing skills to remove any gradient or light pollution in your image. This should give you a much better result. As Americans say, the best filter for astrophotography is the gas filter!
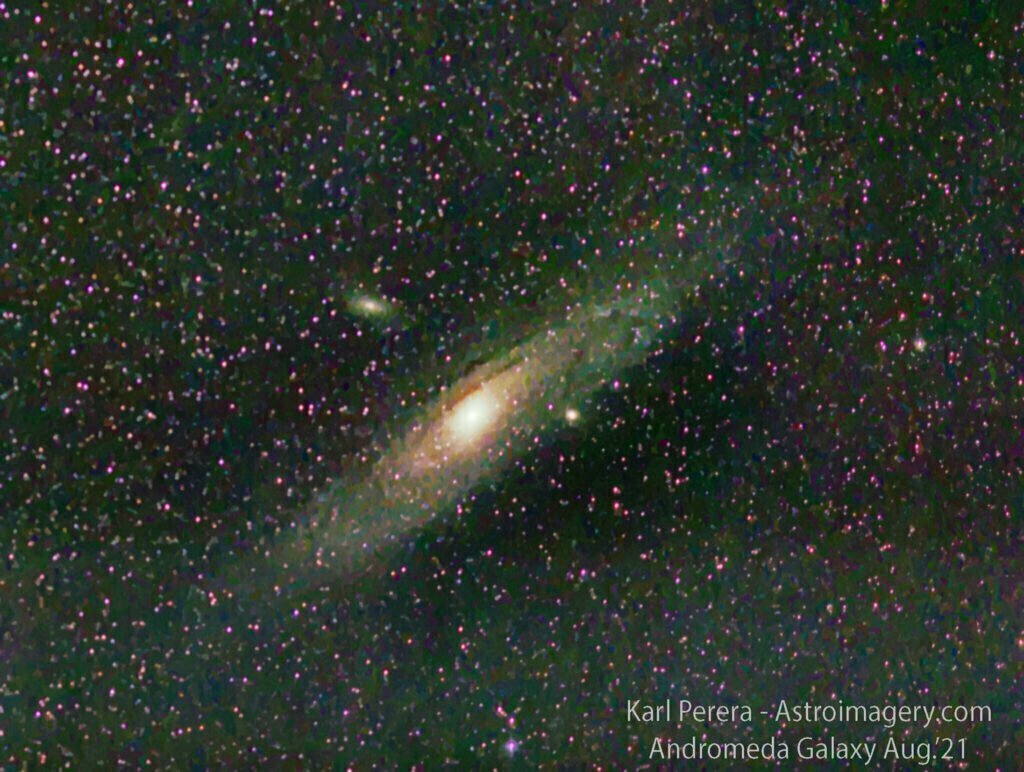
In order to solve the bright core and dim areas problem, you need to possibly consider some lower exposure images for the brighter core area and combine these with longer exposure to capture the fainter details, such as the arms of the galaxy. You can do this in your image processing workflow. I found this very helpful when imaging the Andromeda Galaxy and really managed to pull down the brighter core. This is very similar to the process I have used to capture the Orion Nebula, which also has a very bright core.
Thwill help you find those wonderful galaxies:
What are the best techniques for capturing clear and detailed images of distant galaxies?
Techniques vary according to your astrophotography target, and galaxies are no different. My techniques may be very different from someone else’s. Astrophotography involves experimentation, and this improves your images by enabling you to understand how to get the best from the equipment you have. In other words, my suggestions here are a summary of what has worked for me and what I have learned about imaging galaxies successfully, although no one can claim to have fully mastered this.
Here are my suggestions to you, and I hope they help you to improve on your last image, or if this is your first, to get something you will be happy with.
First, figure out which field of view you need to best frame the galaxy. I took a great picture of the Andromeda Galaxy with my Samyang 135mm camera lens. The galaxy is a little small, but the whole of the galaxy can be captured nicely to create a fantastic image. Capturing it with my telescope at 650mm was too close and did not enable me to capture the whole galaxy. One solution to this is to create a mosaic and image the galaxy by taking two or more separate images and then joining them together.
If you use manual methods to locate the galaxy, it will appear as a fuzzy blob in a raw image from your camera. Don’t expect much until you stack and stretch it.
If you use plate solving it’s much quicker (five minutes or so) and much easier! I recommend you try it.
Make sure you watch videos and read about how best to image and process galaxies; there is a lot of more detailed information out there for this. Here are two suggestions for further research:
For removing light pollution and gradients, I recommend Gradient Xterminator, Astr Flat Pro, and others that also exist, but these are the ones I know really work and will improve your images.
How do I process and edit my galaxy images to bring out the best details?
Now I’d like to talk a bit specifically about a few image processing techniques that can really make a difference in your galaxy images.
Which filters can I use when Imaging galaxies?
Basically, you can use a broadband filter such as the Ioptron L-Pro that will cut out some of the light pollution but not much of the precious light you want.
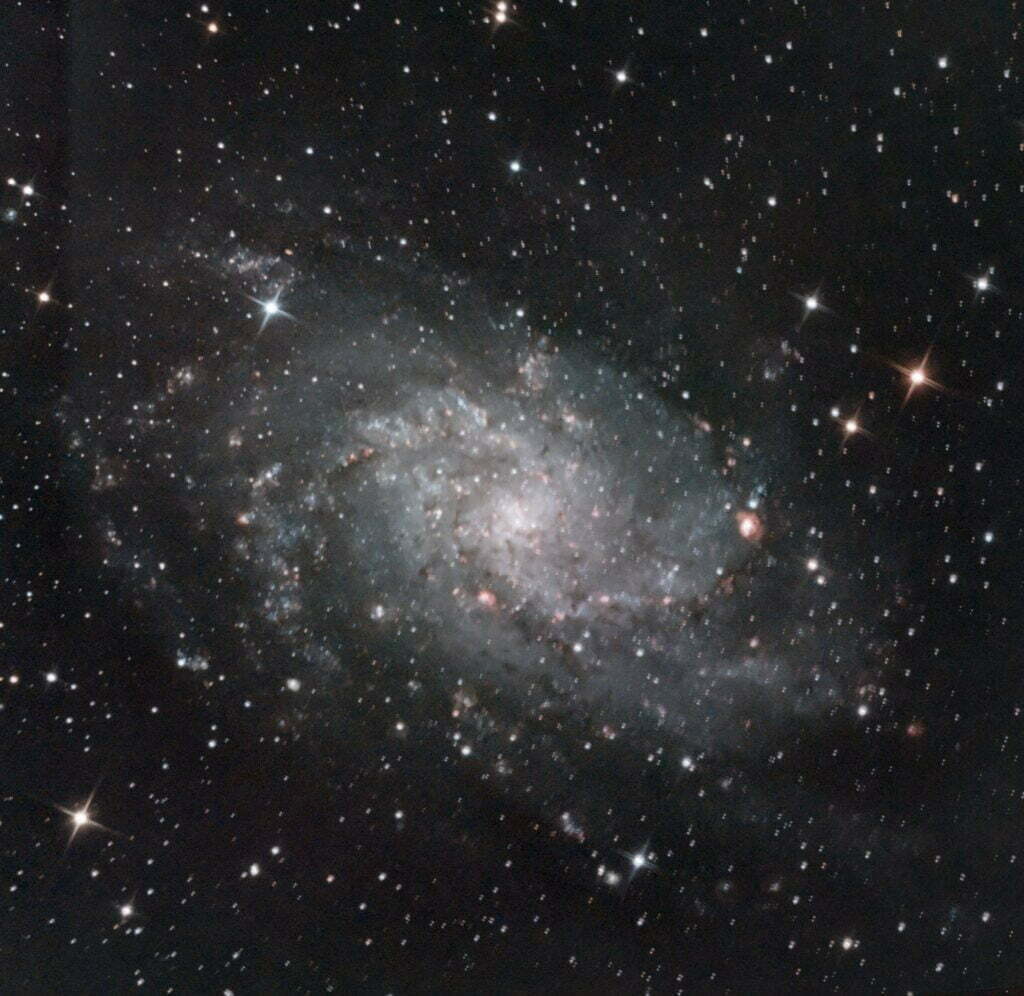
Some galaxies benefit from hydrogen alpha data. I am trying this with the Cigar Nebula and will try it with a few others too. It has added some colour to my image of the Triangulum Galaxy (M33), which you can see below. For this, you can use either a hydrogen-alpha filter (I have used the Astronomik HA 12nm clip-in filter with my DSLR and a ZWO Duoband 15nm filter with my dedicated astro camera).
The below image was taken by combining hydrogen alpha with RGB using a ZWO ASI533 MC PRO camera.
I took 34 x 6-minute exposures of both RGB and Narrowband (HA and Oiii). Tracked with Ioptron CEM26 and guided. I was very happy with the result! Taken in 2022. Check this page to learn more about autoguiding.
Which galaxies are the easiest to image?
I’ve included this section because you might be asking this question if you are imaging galaxies for the first time, but even if you do have some experience, this is an important question to answer, I think.
Here are some of the easiest, most of which I have imaged myself:
- M31 – The Andromeda Galaxy This is our closest neighbor—so close in fact that it will collide with us 4.5 billion years from now. It can be seen with the naked eye in a dark location (I’ve seen it in Bortle 3/4).
- Triangulum Galaxy (see my image above), also known as M33 is quite easy to image and can be clearly seen in a raw exposure on your DSLR. It looks like a blurry, swirling cartwheel but is faint in one shot.
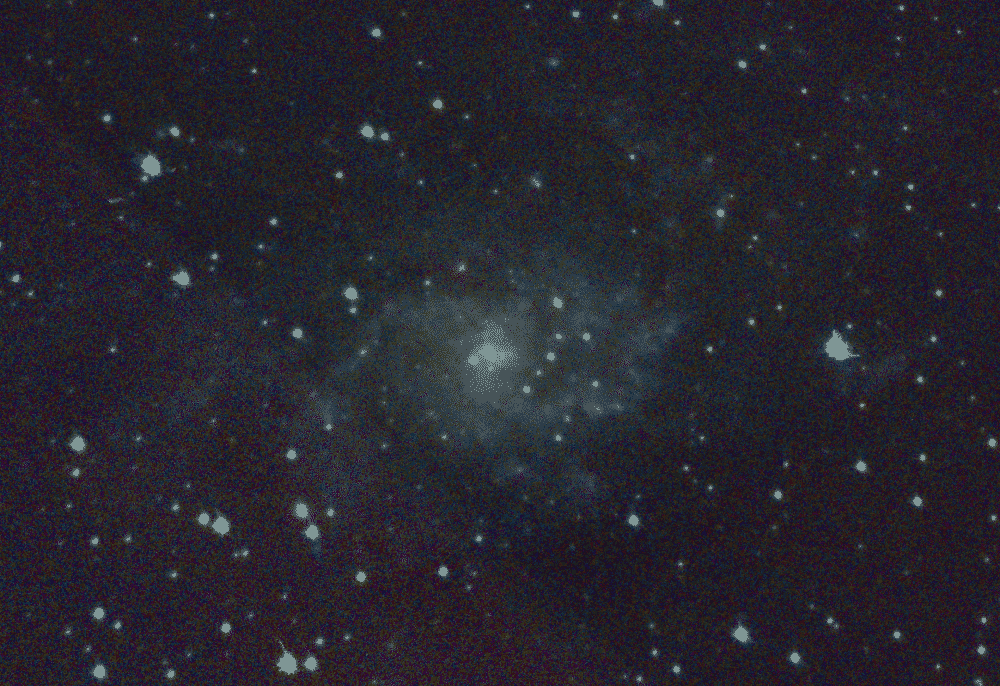
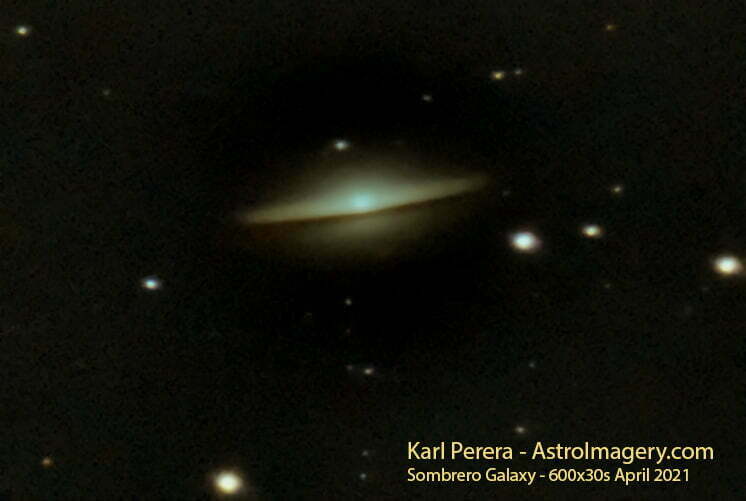
- Sombrero Galaxy. I have only imaged this one time and want to return to this target again as my processing skills have improved and my equipment has been upgraded. The image below was taken with an Alt-Az mount.
Comparison of different popular galaxies imaged by astrophotographers
| Galaxy | Surface Brightness | Distance (LY) | Size (Radius LY) | Difficulty |
|---|---|---|---|---|
| Andromeda M31 | high | 2.5M | 110k | Easy |
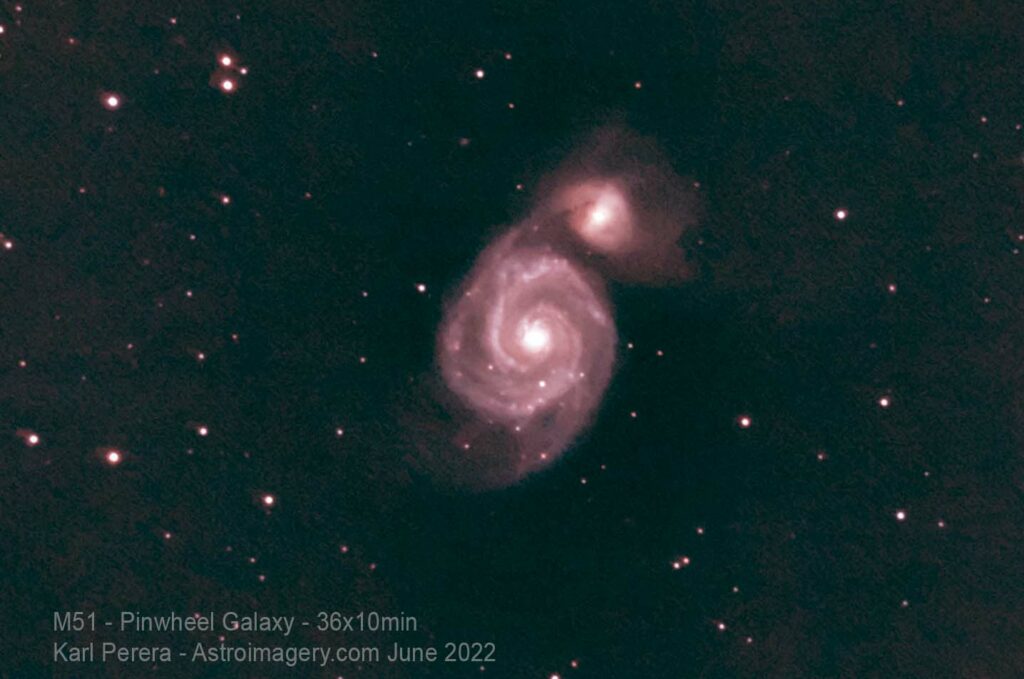
| Whirlpool M51 | high | 31M | 30k | Easy |
| Triangulum M33 | high | 3M | 30k | Easy |
| Sombrero M104 | high | 28M | 25k | Easy |
| Cigar M82 | high | 12M | 18.5k | Easy |
| Pinwheel M101 | medium | 21M | 85k | Moderate |
| Black Eye M64 | medium | 17M | 26.5k | Moderate |
| Cartwheel AM1316-241 | medium | 500M | 65k | Difficult |
| Tadpole UGC10214 | low | 420M | 195k | Difficult |
Rough Guide for Galaxies – How Long Should Sub-Exposures and Integration Time Be?
The length of sub-exposures and total integration time required for imaging a galaxy will depend on various factors, such as the equipment being used, the environmental conditions, and the desired level of detail in the final image. That being said, I can give you general guidelines for sub-exposure and total integration time for the galaxies you listed in your previous question.
So, use the following as a starting point and modify your settings as necessary. As always, after some experimentation and testing, you will see what works and what doesn’t. But these settings should help get you started:
| Galaxy | Sub-Exposure (s) | Tot. Integration (hrs.) |
|---|---|---|
| Andromeda Galaxy (M31) | 30 seconds to 2 minutes | 1 to 2 hours |
| Whirlpool Galaxy (M51) | 30 seconds to 2 minutes | 1 to 2 hours |
| Triangulum Galaxy (M33) | 30 seconds to 2 minutes | 1 to 2 hours |
| Sombrero Galaxy (M104) | 30 seconds to 2 minutes | 1 to 2 hours |
| Cigar Galaxy (M82 | 30 seconds to 2 minutes | 1 to 2 hours |
| Pinwheel Galaxy (M101) | 30 seconds to 2 minutes | 2 to 3 hours |
| Black Eye Galaxy (M64) | 30 seconds to 2 minutes | 1 to 2 hours |
| Cartwheel Galaxy (AM1316-241) | 1 to 5 minutes | 3 to 6 hours |
| Tadpole Galaxy (UGC10214) | 1 to 5 minutes | 4 to 8 hours |
The figures above are for broadband RGB-type filters or without a filter. For narrowband, it is normally necessary to multiply sub-exposure lengths. I would triple the sub-exposure time if you plan to do narrowband to collect hydrogen alpha, for example. Again, just a suggestion. Find what works best for you and your setup and conditions.
And to help you learn how to produce stunning galaxy images:
Conclusion
So, there you have it! Based on what I have managed to image so far and the research I have done, you can take the information above and use it to develop your own method suitable for your equipment, location, and conditions at the time when you image your galaxy.
I’m sure that after a few tries, you’ll be able to get a result that pleases you. There is always room to improve, and that will come with time. Enjoy your galaxy imaging!
