
Table of Contents
The popularity of shooting the moon remains as strong as ever. It is an impressive night sky feature that we all know and love. No matter how many images of the moon I see, I still want more. In my own journey into astrophotography, I have taken many pictures of the moon with a camera or a through a telescope. In this post, I will explain how to begin shooting the moon so that you get amazing pictures of your own. So, grab your camera, step into the realm of lunar photography, and let’s unveil the secrets together.
Equipment and Gear for shooting the moon
Before you start shooting the moon you’ll need the right equipment. This is quite an easy subject to image and so chances are, even if you are a beginner, you’ll have most of what you need. For more advanced astrophotographers, you’ll want to have the best quality setup for lunar photography.
Essential photography equipment for shooting the moon includes the following:
- A DSLR camera
- A suitable lens
- A sturdy tripod
- A remote-controlled shutter release or intervalometer.
The above equipment is for the basic setup for lunar photography. If you wish to take pictures of the moon through a telescope, which I often do, then you’ll need to fix your camera to your telescope. In this case, you can use a DSLR camera or a planetary camera which needs to be connected to a laptop or computer.
Choosing the right camera and lenses
To get started shooting the moon you don’t need an expensive and ultra-professional camera because it is quite an easy target to photograph. I have a Canon 60D and it didn’t cost me more than a few hundred dollars to buy. It’s served me quite well so far. The camera needs to have manual exposure settings so that you can adjust the ISO and shutter times. You need to use fractions of a second for the shutter speed and an ISO of perhaps 100-800 no more.
The lens you choose should be of the best focal length to capture the moon in your shot. For detail, you need something such as 300mm or larger if you aim to capture the details on the moon. If the moon is just part of a larger photograph this could be much lower, say 150mm or even a widefield lens. The best-quality lenses for astrophotography have a focal ratio (or F-number) of 4.0 or less. The lower this number the more light the lens collects and the faster it is. You’ll need to reduce the shutter speed as this number gets lower.
I’d probably go for a Canon Lens because that is what I normally use and my equipment is from Canon, but Sony, Nikon, and other manufacturers have good lenses too.
Tripods, filters, and other accessories
You will need a good-quality tripod to support your camera, check out my guide to choosing a tripod for astrophotography here.
For many types of astrophotography, filters need to be used. When shooting the moon, no filter is really necessary.
If you plan on observing the moon, a moon glow filter can work really well as the reflected light is very intense, and often I found hurt my eyes if I looked at the moon for more than a few moments. Incidentally, if you are interested in knowing why the moon glows, click to find out.
Understanding Moon Phases
When you take your camera out to photograph the moon, you need to find out what phase it will be in. You can use this page to tell you what phase the moon is in tonight. There are also apps such as Clear Outside for your mobile phone which will tell you many things about your location including what percentage moon is in the sky and when it will rise and set in your location.
The Moon’s Phases and their impact on Photography
The phases of the moon add extra interest to your astro shots. I actually prefer some of my images of the crescent moon to those of the full moon. The phase you choose can have a deep effect on the composition of your photograph and can add movement and mystery to your photo.
Don’t forget that quite apart from the phase of the moon the sky conditions can add different effects to your picture too. Clouds can add awe and wonder and can scatter the light of the moon in many delightful ways. Likewise, haloes can appear around the moon with stunning results. I once saw an amazing set of centric circles around the moon extending out quite some distance from the edges of the moon. It was a mesmerizing sight!
Planning the Shoot
Before you can shoot the moon, you need to plan your shot to ensure it comes out the way you intend.
Here are the steps you need to follow to plan your perfect moonshot:
- research the moon rise and setting times and decide when to start shooting your picture.
- decide on your location.
- consider the weather conditions.
- Consider the light pollution at your location. Will it affect your shot?
- Will you include foreground elements to enhance your photograph? Do you need any external lighting or will the moon be bright enough to illuminate your landscape?
- Consider your composition and angle. You will probably have to experiment once you start shooting.
Find out more about photographing the moon in this video.
Potential Problems and Challenges to Overcome in Lunar Photography
Low-light photography comes with its own set of challenges, as you may already be aware. Overcoming noise and grain in low-light conditions is a big one of these. The trick is to get your settings right and use recommended ISO settings for your camera. Minimize your shutter speed to improve the sharpness of your image and make sure there is no movement or vibration in your tripod. It will help to shoot on a windless night.
You’ll need to master long-exposure photography techniques. Your post-processing skills will make or break your final picture and can enhance the emotional effect of your moonlit images. As with most photography, you’ll need a lot of practice and experience to get those amazing shots. So just go for it! Enjoy your photography!
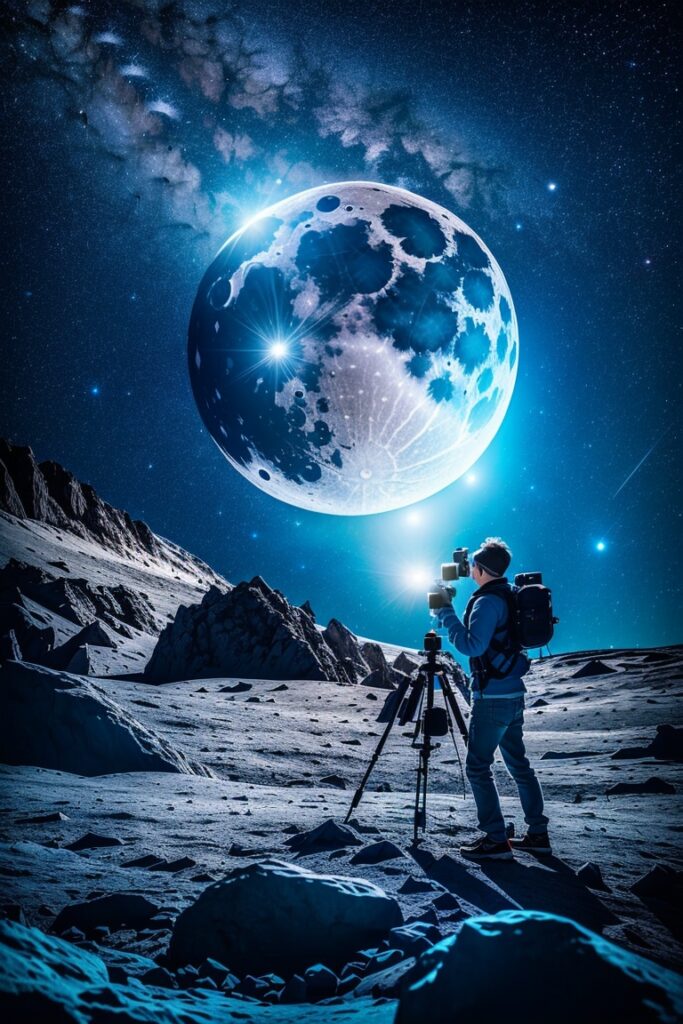
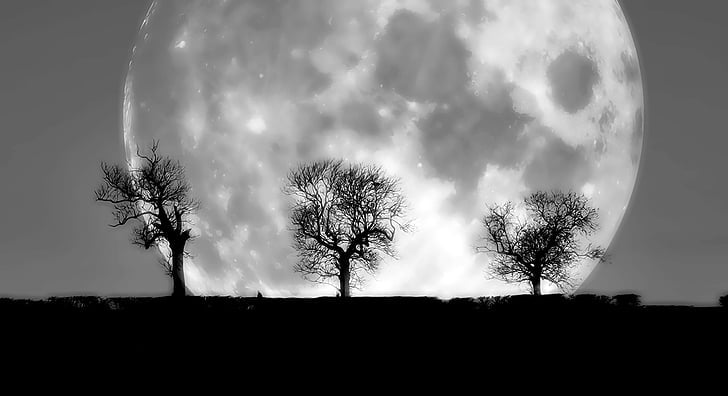
Advanced Lunar Photography
Combining moon photography with other genres (e.g., landscape photography) is an advanced and highly artistic type of photography that is well worth pursuing. You can use the moon and its light to create a scene filled with mystique and interest. Here is an example:
I hope this has inspired you to try out moon photography. It is not difficult to get started but shooting those amazing pictures that stand out will take time and experience. The time you spend on imaging the moon will pay off though and who knows maybe you can create an awesome work of art. Good luck in your astrophotography journey!


