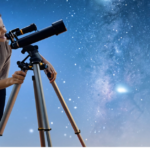
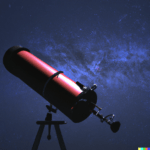
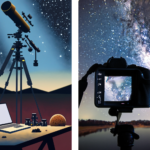
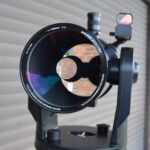
In astrophotography, you need to use long exposure night photography because there is so little light in the night sky. The objects we try to capture are often very faint and far away, so we need to maximise the amount of light the camera is exposed to.
Long-exposure night photography is a great way to explore the beautiful and mysterious world of astronomy. With the right camera and technique, you can capture stunningly detailed images of our universe, from the stars in the sky to distant galaxies, nebulae, and more.
What Equipment do you Need for Long Exposure Night Photography?
Before you set out on your long exposure night photography imaging session, make sure you have the right equipment. You’ll need some or all of the following:
- A digital SLR camera with a manual mode and an ISO 800 or 1600 setting is ideal for this type of low-light photography.
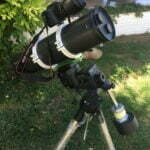
- You will also need a sturdy tripod to ensure that no shake or blur takes place during the long shutter speeds required for these types of images. Look for tripods with adjustable feet and extra hooks to tether or hang additional equipment if necessary.
- If you want to take longer exposures of up to several minutes, you’ll need a mount that will track the movement of stars and other objects in the sky so you don’t get star trails or blurry images.
- Additionally, an intervalometer that enables you to remotely activate the camera shutter will make long exposure astrophotography much easier by reducing any camera shake. An intervalometer also enables you to use bulb mode on a DSLR and set the number of images to take and the length of each exposure. Very handy indeed!
- You can use a dedicated astronomy camera for long exposure astrophotgraphy as long as it is connected to a laptop and imaging software. This is quite easy to do.
- One technique that is helpful for ensuring that longer exposures are able to produce good-quality images without any star trails is auto-guiding. This is something I do, and it was not difficult to set up. All you need is a small guide scope and a guiding camera, which is then connected to a software guiding program called PHD2. It locks onto stars, and if there is any movement, it corrects this by nudging your telescope mount into the correct position.
Reduce Vibrations and Light Pollution to Achieve Clear Images
In order to get clear, sharp astrophotos, you need to reduce external vibrations and light pollution. Vibrations can cause blurry images, so try finding a spot away from busy roads and highways. Try to minimise the effect of wind.
Light pollution is also a huge issue when it comes to night photography, as it washes out the stars in your shot. When shooting outdoors, make sure you’re far away from sources of light, like cities or towns. Alternatively, you could use a light pollution filter for your camera lens. This helps filter out unwanted artificial light from your shots.
Set Up Your Camera for Long Exposure Astrophotography.
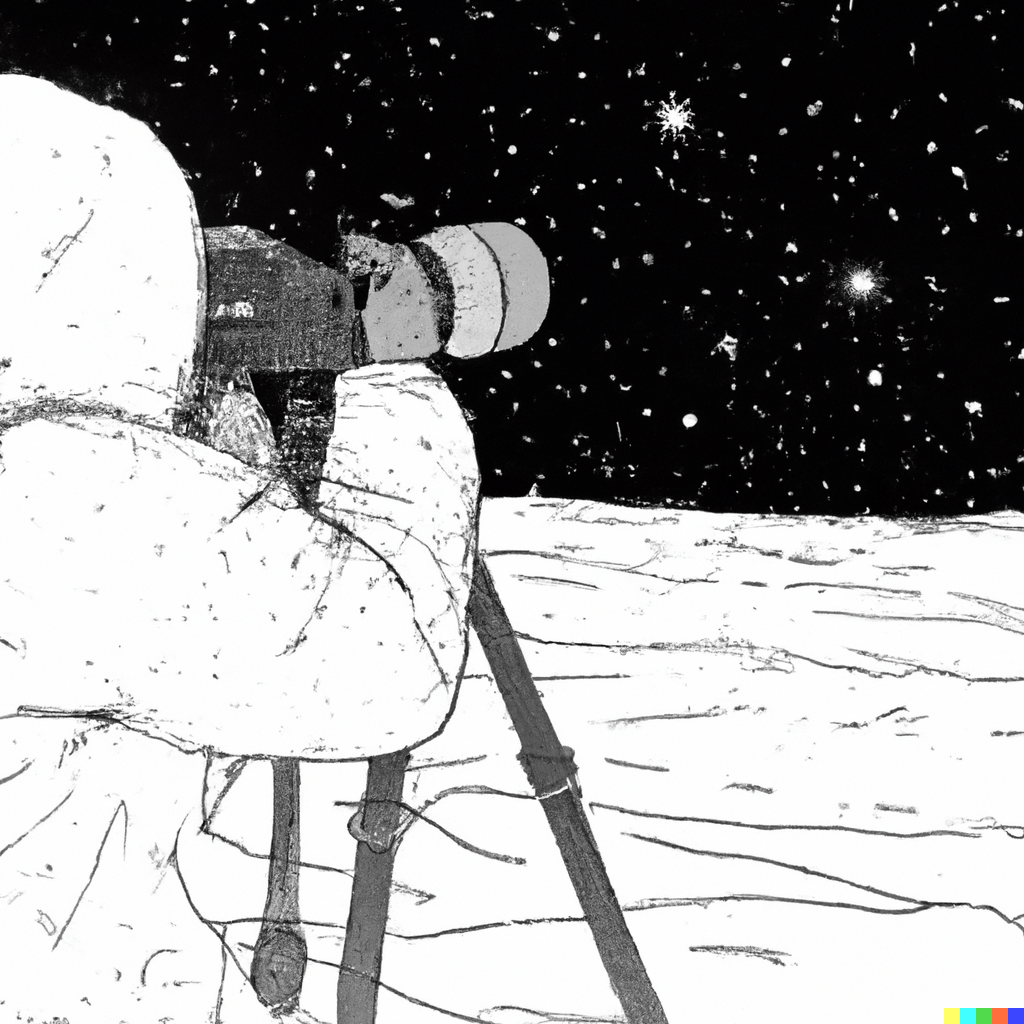
Before taking your first photo, it’s important to set up your camera correctly. Start by setting the focus mode to manual, then adjust the exposure time and aperture. Set the ISO at a recommended level for your camera (my Canon 600D works best at ISO 800, but other models prefer 1600 or other settings).
Next, adjust the focus so that images are in sharp focus. Either focus on a bright star and make the point of light as small as possible or use a Bahtinov mask to get the focus spot on.
It’s best to activate mirror lock-up mode to minimise any camera shake when the shutter is activated for each exposure. Don’t use the long exposure noise reduction setting because it will take a dark frame after each shot, and this will waste a lot of imaging time through the night.
Take Test Shots and Adjust as Needed
Once you have your settings prepared, it’s time to take some test shots! After each shot, check the results on the LCD screen on your DSLR to see if adjustments need to be made. If you are using an astronomy camera, then check the photos on your computer or laptop to ensure they are fine.
Experiment with different exposure times and aperture values until you find what works best for the scene you are photographing. For deep-sky imaging, you will not see very much on your screen, but make sure to check the shape of the stars and the focus.
The Correct Exposures for Different Conditions and Targets
Long exposure night photography is necessary to capture the full beauty of the night sky. When it comes to correctly exposed images, there are different settings depending on the light and subject you’re trying to photograph. Check this out to learn more about long exposure night photography and when it is used.
For example, capturing landscapes and sunsets may require exposure lengths between 10 and 30 seconds, whereas star trails or the Milky Way should be a few minutes long. Some deep-sky objects, such as galaxies or nebulae, are so far away and so faint that they may require up to 5–10 hours of exposure and several hours of total integration. Experiment with different settings to find the perfect exposure for your night photography!
The amount of exposure time depends on a number of factors, including the brightness of your target, local light pollution levels, the position and phase of the moon, and your camera settings. This does need some thought, but it can only be understood through experimentation and experience.
I am in the process of developing a calculator for this, but this will only be a starting point for you. At present, with my equipment and conditions, I tend to image with a narrowband filter for 5–6 minutes for each shot and for about 2–3 minutes for a broadband filter in RGB. You may have to modify these exposure times to suit your situation.
Light pollution will decrease the amount of time you can expose your camera to because, otherwise, your image will be swamped by this unwanted light and it will be difficult to remove it later in post-processing.
Image stacking
When taking long exposures of galaxies and nebulae I now try to get at least 10 hours of total exposure time and this means possibly hundreds of images that will need to be stacked into a final image.
Image stacking is an important technique in night photography that involves combining multiple images at identical exposures to bring out more detail and reduce noise. This method works well with stationary objects like stars, galaxies, and the Milky Way. To do image stacking, you’ll need to use a program such as Deep Sky Stacker, Sequator, or my favourite, Siril. You can also use an image editing program such as photoshop to stack your images.
Post-processing images
Once you have your photos, post-processing them will help take them to the next level. Post-processing techniques like color saturation, curve stretching, and noise reduction can really bring out the details in night photography images. There are many free and commercial photo editing programs available that allow you to tweak and adjust different settings to create the perfect image.
Some of the most popular programs for post-processing include Photoshop, Gimp, and Pixinsight. I tend to use Photoshop but they all can do a good job if you take the time to learn how to get the best from your images.
In conclusion, long exposure night photography is necessary for better astrophotography. The length of your exposures will be limited by the stability of your mount and equipment.
