Table of Contents
Introduction to Gimp Astrophotography Techniques
There are several programs that can help you process your astronomy photos; in this post, we’ll talk about Gimp astrophotography. I’ve tried it myself, and it was pretty straightforward to use and is not as complex as some other software, such as Pixinsight.
Gimp astrophotography editing can help you in many ways. It is free and can be used not only on Windows but on other platforms as well.
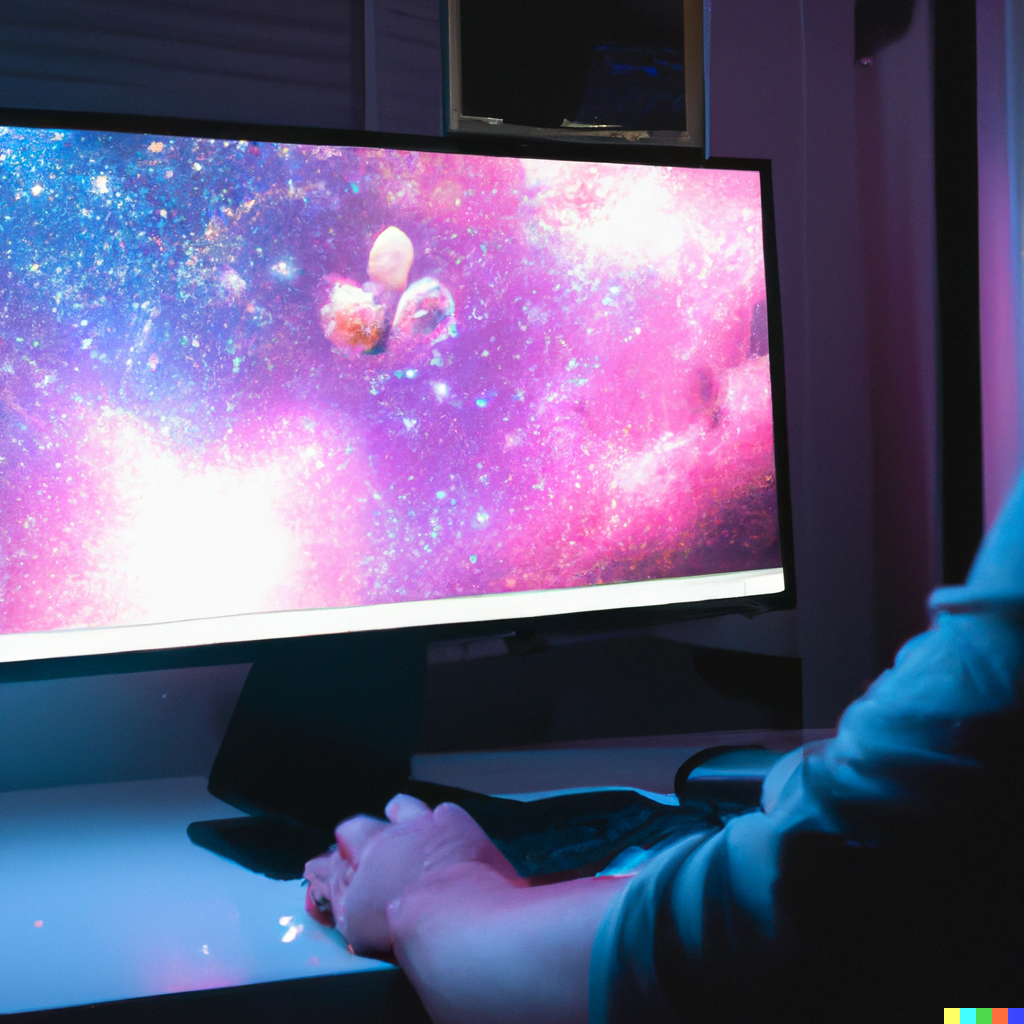
You can use Gimp to do the following:
- Edit your astrophotos after stacking your images.
- Enhance your pictures by removing light pollution.
- You can perform many other actions with or without plugins. These include star and gradient reduction.
- Adjust colours and background levels.
- Stretch your images to reveal details hidden in raw images.
- Crop and resize your image.
- Enhancing the appearance of stars in your images.
These are just some of the most important editing functions you can use, but there are many others. Gimp is a great program to include in your astrophotography editing workflow. To find out more, get a copy of this magnificent book:
Installing Gimp
GIMP requires at least 512 MB of RAM and 800 MB of hard disc space. It is compatible with Windows 7 or later. Install it from the Gimp website to ensure you don’t get any malware.
I know from my Photoshop experience that using a laptop without enough RAM really slowed down my computer. In fact, until I upgraded my Lenovo Yoga 520 from 4GB to 16GB, I could not edit astrophotos quickly. Most astrophoto software either crashed or worked very slowly.
I advise you to take the above requirements as a minimum, and if you are serious about astrophotography, upgrade your RAM to at least 16GB.
Plugins for GIMP
The following list includes a selection of plugins that can be used for GIMP astrophotography:
- Pyastro for GIMP. This plugin allows you to use Python plugins that can help with processing your astrophotos. Functions include image stacking, calibration frame subtraction, and evening out of the background gradient.
- Exposure Blend
- Cyan
- Resynthesizer and Liquid Rescale enable you to resize and edit images.
- Gradient Removal
- G’MIC
- GIMP Refocus helps sharpen your images.
- BIMP (Batch Image Manipulation Plugin). Check out this video that explains how to use BIMP.
- FX Foundry has a nice selection of filters and scripts.
Here are some links to useful information regarding more Gimp astrophotography plugins that you can use for your Gimp astrophotography editing:
A number of helpful plugins are available here.
Thomas Boldt’s Gimp Tutorials website includes this useful plugin page.
Preparing your images for editing in Gimp
Before you edit your astronomy photography in GIMP, you need to follow these steps:
- Open your image in GIMP by selecting File > Open.
- Select the image you wish to open
- Duplicate your layer so you can work on a copy. This ensures you will not destroy your image and can easily return to your original file.
- Stretch and balance your image. Choose Colors then Levels. Use the histogram to check the effect of your enhancements.
- Using sliders you can adjust shadows, mid tones, and highlights.
- You can enhance the colors in your image with Gimp. Select colors and curves and then adjust each color as you wish.
- Use any tools and plugins you have to edit your image.
- When you are happy with your final image, export it by clicking File > Export.
- Choose the kind of file you want to save and select where you wish to store the file.
Here’s what you need to store your astrophoto files:
Enhancing Stars in Gimp
To enhance stars in your photos you can use GIMP in the following way:
- Select Filters, then Enhance, then Unsharp Mask.
- Change the radius and the amount until you get sharp-looking stars that look good to you. Don’t overdo this as I found it is easy to increase the noise in an image.
- A tweak in levels can highlight or dim your stars against the background. I find this is a quick way to control the brightness and contrast of the stars in my astrophotos.
- GIMP also has a tool that allows you to make your stars glow. To enhance your star photos in this way, duplicate your layer. Adjust this duplicate. Choose Filters. Go to Blur and select Gaussian Blur. Adjust the blur radius until you like what you see. Finally, choose screen or lighten-only to blend the effect with the rest of the image.
How to remove light pollution with Gimp
There are several methods you can use to remove light pollution. The following is one way:
- First, open your image and duplicate the layer.
- Next, remove any noise by using the despeckle filter. The noise it removes will be largely due to light pollution.
- After this, blur the image by using the Gaussian Blur filter.
- Duplicate this layer and change the blending mode to subtract. You can adjust the amount of light pollution removed by setting the opacity of this edited layer. If light pollution is very bad, you might use a very high value for the opacity.
- When you have finished, you can flatten the images to make it one layer. Save your image.
- This process is very similar to other software, such as Photoshop, so if you have previously used it, it will be very easy.
GIMP has a tool called Dynamic Background Extraction that can also remove light pollution. Watch this to find out how it works. Also, different plugins can help remove gradients in your image caused by light pollution.
Tips and tricks for Gimp astrophotography
Here are a series of tips to get the most out of your images with GIMP:
- Import your images as TIFF or FITS files, as these formats contain a lot of information and are editable in most software. You can convert to other formats later.
- Some great tutorials on YouTube explain how to edit images in GIMP. One great example of a helpful video is this one.
- Try this valuable guide to adjusting colour in GIMP.
Should you use GIMP for your astrophotos?
As explained in the above article, GIMP is a good choice of free software for editing and processing your astrophotos. But are there any limitations?
Yes. A few small drawbacks.
You may find there are fewer specific Gimp astrophotography editing options compared to other programs such as Photoshop or Pixinsight. You can, however, do most things in GIMP. Also, it is free.
For simple editing and especially for those wishing to learn about editing astronomy photos, GIMP is a good choice. More advanced users can also use GIMP and extend its basic features with plugins and advanced options. I think it’s probably more likely that an advanced astrophotographer would pay for software such as Pixinsight, which includes so many features in one program.


