Table of Contents
Auto guiding is a technique that astrophotographers use to improve the tracking of stars and deep-sky objects so that longer exposures are possible. It requires a little extra equipment, a guide scope, and a guiding camera, but is quite cheap and easy to do.
In this article, I will explain what exactly auto-guiding can do for you in terms of the quality of your astrophotography images and suggest a few ways to add it to your setup. Please don’t hesitate to contact me if you have any questions.
What is Auto guiding?
A telescope mount that is suitable for astrophotography usually has the capability to track the movement of stars and other deep-sky objects in the sky. However, most mounts have tracking errors and limitations which means that they cannot perfectly keep any object in the field of view for long periods. Autoguiding is a method of solving this so we can take longer exposures with no movement or star trails.
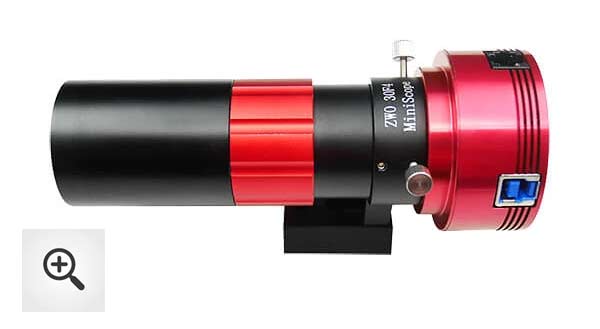
Autoguiding involves using a small camera and guide scope attached to the telescope, which makes small adjustments to the mount by locking onto several stars and checking if they move (see also this page about guide scopes). This system is very sensitive and will make adjustments even if the star moves several pixels in the camera’s field of view.
This helps to extend possible exposures to several minutes which is enough for high-quality astrophotography.
Setting Up an Autoguiding System
So how can you set up an auto-guiding system and add it to your existing setup?
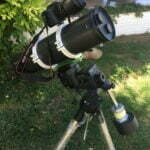
Autoguider systems typically consist of two components: the guide camera and the guide scope. These are attached to a telescope and the camera output is connected to the telescope mount either directly or via a laptop or PC. Software such as the free PHD2 can then be used to monitor any corrections that are made to the mount.
This kind of setup enabled me to increase my exposure time from a maximum of two minutes unguided with my Ioptron CEM26 mount to more than 20 minutes (and probably much longer) with no star trails.
There are a few things you should bear in mind about your autoguiding set up which are nicely explained on astrobackyard.com but basically you need to be careful of the weight you are adding to your telescope rig and that you balance your setup well. Choose wisely before buying autoguiding equipment.
Suffice it to say that this is more than enough for astrophotography.
Different Types of Autoguiders and Accessories
There are a few types of auto guiders available on the market. PC-based auto guiders use a small CCD camera connected to your laptop, while standalone units contain the guide camera and its processor built into one package.
I used the SV103 astronomy camera from SVBony which works well as a guide camera. You just need to be careful to mount the guide scope securely to your telescope. One good solution is to use a mounting plate and small guide scope rings then tighten them in position. You also need to make sure that the telescope and the guide scope are pointing at the same point in the sky. It is OK to have a small difference but do take time to adjust this by means of the screws on your guide scope rings.
Please note that the guide camera should be able to do longer exposures than about 4 or 5 seconds because you’ll need this for the software that you can use to auto guide and also any software you might use for polar aligning.
There is an alternative to the common guide scope plus guide camera setup which is called an off-axis guider. This kind of auto-guiding uses a guide camera attached to the focuser of a telescope and doesn’t need a guide scope.
One advantage of using an off-axis guider is that there is no movement of the guide scope which can occur due to balance imperfections or because of the attachment rings etc. This is called flexure in astronomy. There is a nice table showing the advantages and disadvantages of using an off-axis v a guide scope here. On this page, there is also some information about how to set up the off-axis guiding system.
My Experience with Autoguiding
I’ve had a good experience autoguiding. I didn’t find it difficult to set up and the guide camera and guide scope were no more than $200. The results have been fantastic and I rarely have to reject images because of tracking errors or star trails.
The pictures I get now are so much better with clearer details and I am exposing usually for up to ten minutes each image. I don’t find I need any longer than that.
I’d like to compare some of the images I have taken before and after auto guiding and compare what difference it has made to my images. Take a look at these images below:
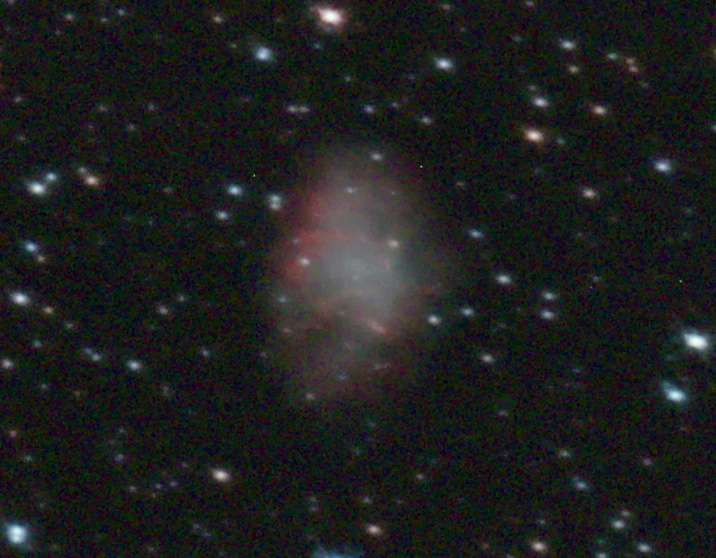
Photo A, above was created in December 2020. Here are the imaging details:
186 x 60 seconds exposures stacked in Siril and then processed in Photoshop. An Optolong L Pro Max filter was used. Telescope was Celestron 130slt.
Here is another photo of the same target, M1 taken with auto guiding in
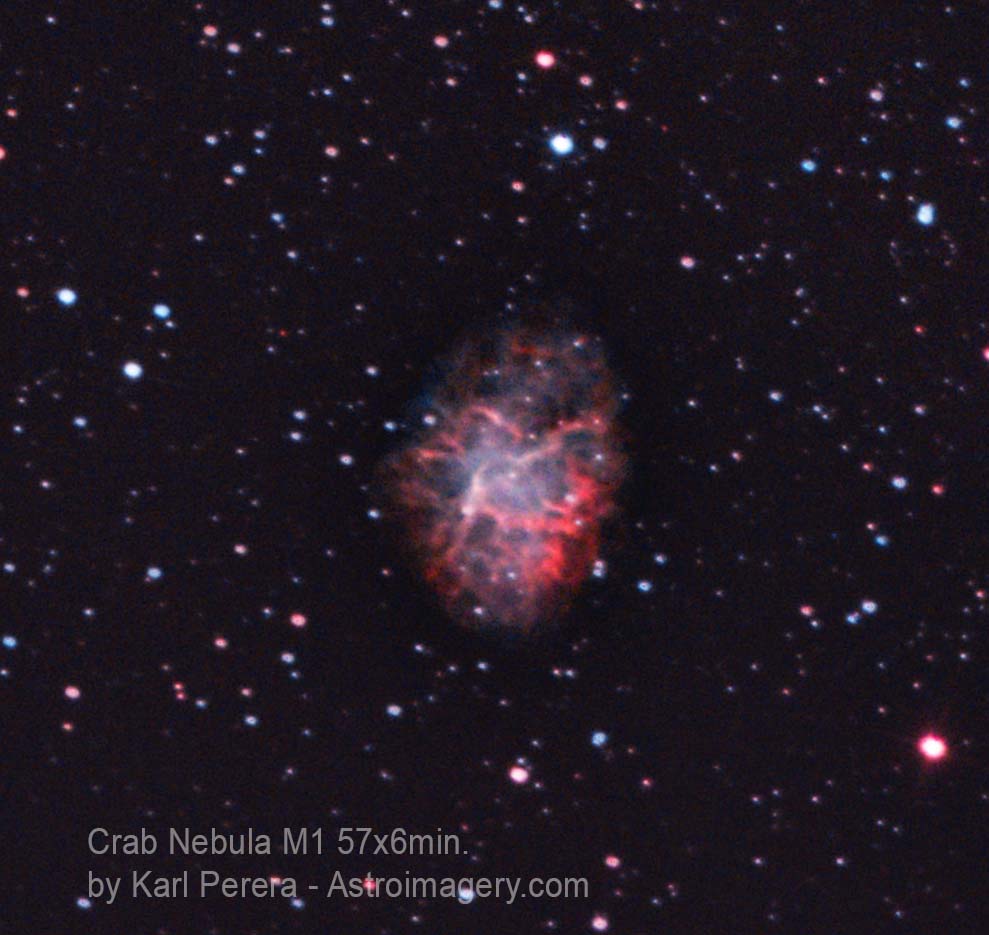
Look at Photo B above and you can see the difference that it has made to the stars. Remember that Photo B has been taken with exposures that were six times as long but the shape of the stars is better and there are no odd tracking errors. The imaging details for Photo B were:
57x6minutes. Total integration time = 342 minutes (just short of 6 hours). This image was created in July 2022.
I used a ZWO ASI533 MC PRO camera so the image quality is much improved but focus on the stars because that is where the tracking and auto-guiding make a huge difference.
Please note that since I began auto-guiding whilst imaging in 2022, I have now improved the technique with time and practice and my images I think are even better than before. Comparing my early images taken with my first mount, an AZ-ALT Celestron GOTO would be unfair as the mount did not track anywhere near as well as my present mount which is an Ioptron CEM26 EQ mount.
Photo C, below, is one of my more recent pictures taken in 2023.
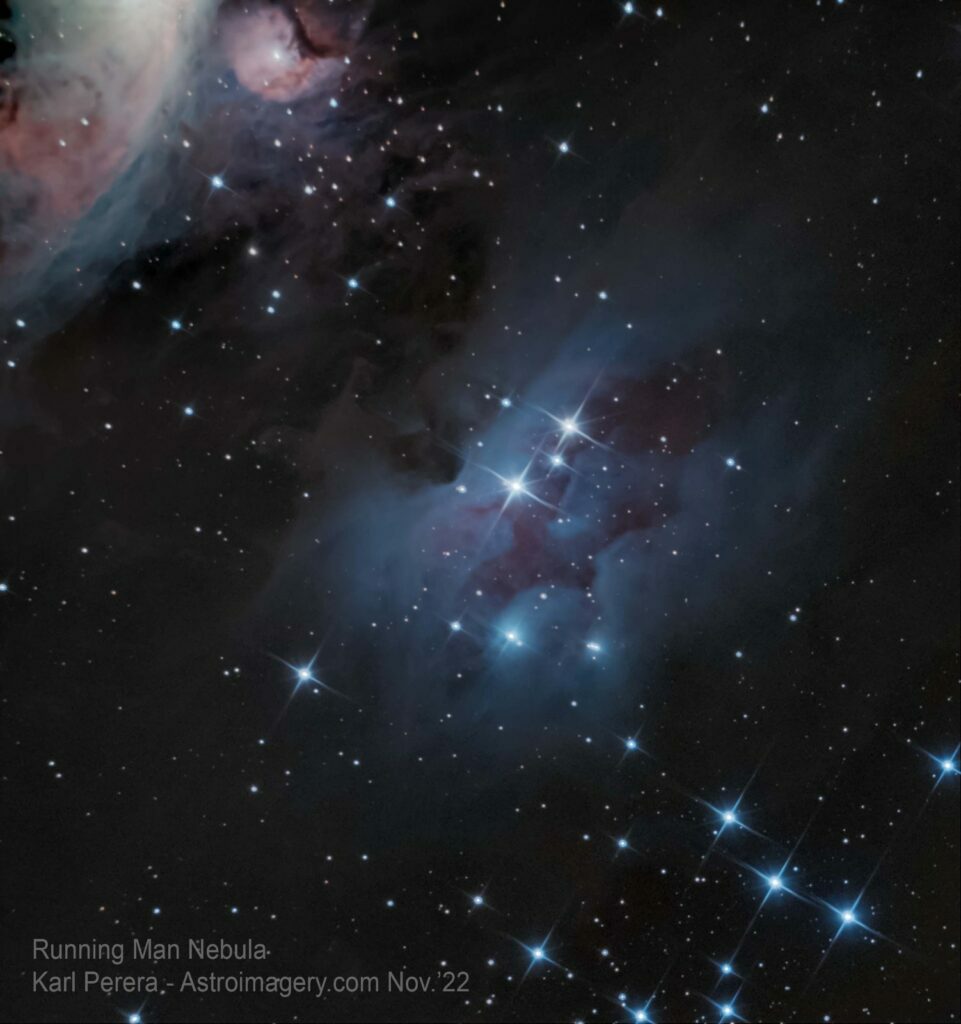
The stars are very clean but not absolutely perfect, nothing can be. But I think this is a great improvement! I do not use a field flattened and so it is normal to have a small variation in the stars as you move toward the edges of the image. The imaging details for this image were as follows:
76×3 minutes which is a total integration time of 228 minutes or just over 3 hours.
I use a laptop to connect my guide camera and I use PHD2 for the auto-guiding software. This software is very popular and very easy to use, hence its name (Push Here Dummy 2!). It is also free to use. To make the auto-guiding even more effective I also learned how to dither. This technique moves the image up or down a few pixels each time it takes an image which helps the stacking software to remove walking noise from your images.
Another advantage I have found is that I can use the guide camera with Sharpcap Pro to polar align before I begin imaging. There are many different ways to Polar Align but I have found Sharpcap Pro to be an easy and quick solution and gives me good results. More about Polar Alignment on a separate page.
Conclusions
Autoguiding is something I avoided for a while and believed that my mount was good enough to cope without it. I had to reject so many of my images because they were not auto-guided) maybe approximately 30% of my images had tracking errors and were spoilt). This was a huge waste of time. Now auto guiding has not only improved my pictures, but it has also saved me a lot of time in the imaging process.
Be sure to add dithering and an accurate method of Polar Alignment to your astrophotography routine and this will really help to get clean imaging data and better images.
I really suggest you try auto-guiding for yourself, it will take your images to the next level for sure! Don’t put it off any longer!
