
Table of Contents
Before any session of imaging with your equatorial telescope mount, you’ll need to carry out accurate Polar Alignment first. There are various ways to do this and I’ll discuss my favourite way plus some alternatives you may like to try.
Before going any further, please note that you are Polar Aligning the mount or tracker, and your equipment, either a telescope or DSLR camera sits on top. It is always the mount that tracks the stars so this is the equipment that needs to be aligned correctly to do its job.
There are a number of tips I will try to give you if this is your first time trying to figure out how to Polar Align, or if you need to improve the results you are getting.
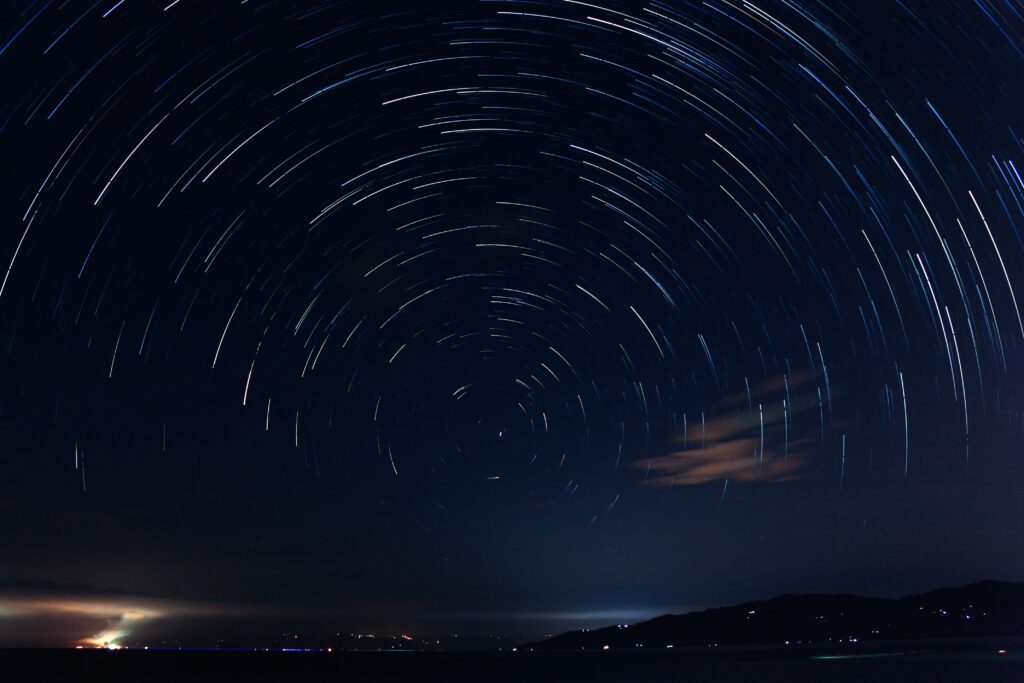
Good Polar Alignment is absolutely essential for astrophotography, without it you will not have round stars when you take longer exposures. As explained on this page, star trailing and blurry images result from poor tracking which is also dependent on accurate Polar Alignment.
I’ve found that my results are good and I can image for up to ten minutes or more with minimum star trailing if my Polar Alignment is within about 20 seconds error (as shown in Sharpcap). This assumes that auto-guiding is also used, without auto-guiding my mount limits me to about two minutes error free long exposures.
Before Polar Alignment
There are a few steps that you need to follow before Polar Alignment. The first is to place your telescope mount or tracker roughly pointing North on a flat surface. Next, level your mount using a bubble indicator that may be attached to your mount. Make sure to adjust the legs of your mount so that it is reasonably level.
The second step is to find Polaris, (the North Star) if you are in the Northern Hemisphere. For those in the Southern Hemisphere, the procedure is very different. I live in the Northern hemisphere and so I will describe how to Polar Align using Polaris first.
Take a look here if you would like some information on how to polar align if you live in the Southern Hemisphere.
Look to the North and find Polaris. You can use an app such as Sky Safari which is the app I use and it will clearly show you where Polaris should be. Make sure you can find Polaris easily next time! Adjust your mount so it points towards Polaris which is very roughly true North. Remember that this is different from the North that a compass shows.
Check your location carefully
Check you’re location by using GPS or an app on your phone as you’ll need to enter this information into your telescope mount if you haven’t done this already. Once you know what your latitude is you can turn the declination knob (the one that moves the telescope up and down), to indicate your latitude. Mine is 38 degrees so I can turn the knob so it shows just under 40.
Your latitude is important because it will affect where Polaris is above the horizon in your location. After setting the location by turning the dec. knob your telescope should be pointing roughly at the correct angle to view Polaris.
Once you are set up, you can proceed to the next steps where we will start the Alignment process.
Different Methods to Polar Align
I have tried the following two ways to Polar Align and so will discuss these first before considering what other alternatives exist:
- Using a Polar Scope
- Using SharpCap Pro
Aligning with a Polar Scope
The first method that I learned was to use the built-in mini-polar scope that was attached to my telescope mount. Basically, you get on your hands and knees, (something I hate doing especially if it is cold or wet), and look through the polar scope eyepiece at the markings. You need to find Polaris and place it in the correct place on the reticule’s dial. The exact place will change over the course of several hours as Polaris is not exactly at the celestial North Pole.
How do you know exactly where Polaris should be on the reticule of your polar scope?
There are generally two ways to check this. The first is to find this in your telescope mount hand controller. My Ioptron CEM26 mount gives you an image of exactly where you should place Polaris when looking through the scope.
A second way to do this is to use an app such as PS Align Pro which I have on my iPhone. There are various different apps you can use for this but they all enable you to see precisely where Polaris should appear in your polar scope. Move your mount left and right or slightly up and down to adjust this until it is correct. Your mount will then be correctly Polar Aligned.
Aligning with SharpCap Pro
You will need to pay a small amount yearly for this feature of Sharpcap. I recommend this as it is quite cheap and really works well. I get accurate results of less than one minute of a degree error in my Polar Alignment and often to about 20 seconds, which is a very small error!
When I first tried this method it did take me some time perhaps as long as 20 minutes to do it but now I can usually do this within 5-10 minutes quite easily. It just takes some practice. No big deal.
There is no way I could get these accurate results by using my Polar Scope and getting down on the ground and squinting into the polar scope was no fun and often hurt my neck. Don’t do it, find a better method such as Sharpcap Pro or Polemaster or something that works for you.
So how do we Polar Align with SharpCap Pro?
Basically, you will adjust in two directions left and right and up and down using the latitude adjustment knob.
Here’s the procedure summarized. For a detailed explanation of exactly how to do this and how it works take a look at the SharpCap website.
- Open Polar Alignment Tool
- You need at least 15 stars to be detected close to Polaris.
- You should see in green the word SOLVED meaning the software has identified the stars and where the telescope is pointing.
- Click NEXT and on the next window it tells you to rotate your telescope 90 degrees to the EAST or WEST in RA (right Ascension). The telescope will now be parallel to the ground with the aperture still pointing North. See the diagram below
- An ERROR reading will now be displayed and probably it will say POOR Polar Alignment, this is expected.
- Now move the knobs on your mount left or right to get this number as low as possible.
- Now move the declination knob either up or down to get this number as low as possible.
- You may have to repeat this process a few times until your Polar Alignment reads EXCELLENT.
- Wait a few seconds to make sure all is stable.
- Done!
You should now be good to go and have an accurate Polar Alignment. I really like this method but there are others.
Other ways to Polar Align
A couple of other ways to do this are:
- Use Polemaster
- The Drift method
I haven’t actually tried these two so I cannot explain here the best ways to do this but there are many tutorials and websites that give further instructions about this that you can check out.
Trevor Jones has a nice video where he tries out and reviews Polemaster so go check that out here if you’re interested in how it works.
Explore Scientific explain in simple steps here how to polar align using the drift method. This method is said to be very accurate but although I haven’t tried it I do believe it may take some time to do this.
Final Tips and Suggestions
It’s always a good idea to try different methods out and see which you prefer or find the quickest and best for your setup. My preference now is for SharpCap Pro but don’t hesitate to investigate other ways if your results are not good.
There is much discussion about which Polar Alignment routine gives the most accurate results. None of this is important! The ONLY important thing is that you are happy with the results you get. If you are satisfied that your images look good and do not suffer from imperfections or star trails, then why change how you do it?
Polar Alignment is a skill you’ll need to master and out in the field you want an accurate way to do this with the minimum of fuss and time wasted. Good luck with whichever Polar Alignment routine you decide to use. Oh, and don’t hesitate to ask me a question about anything I’ve said here.


