
Table of Contents
There are many tools and software for post-processing astrophotography images including my favorite, Photoshop. There are many tutorials online on how to do basic and more advanced Photoshop editing of your images, so take advantage of these. On this page, we focus particularly on the before and after of RAW images and my use of astrophotography Photoshop techniques.
Astrophotography Photoshop processing of images can be learned with practice and is a vital element in the creation of a good quality astrophotography image. With Photoshop we can improve the contrast and visibility of images shot of the night sky and reduce the noise and sharpness.
I’d like to show you a few examples of how much difference using astrophotography Photoshop processing makes to your images. Below are several examples over the last year of how the image transforms from black nothingness to a visible stretched image with contrast that can then be further improved.
As you look at the images below, posted in the order that I have processed them, I’m sure you’ll be inspired by how my skills in astrophotography Photoshop editing have improved. You can go through the same journey!
Attempting to Process Someone Else’s Image
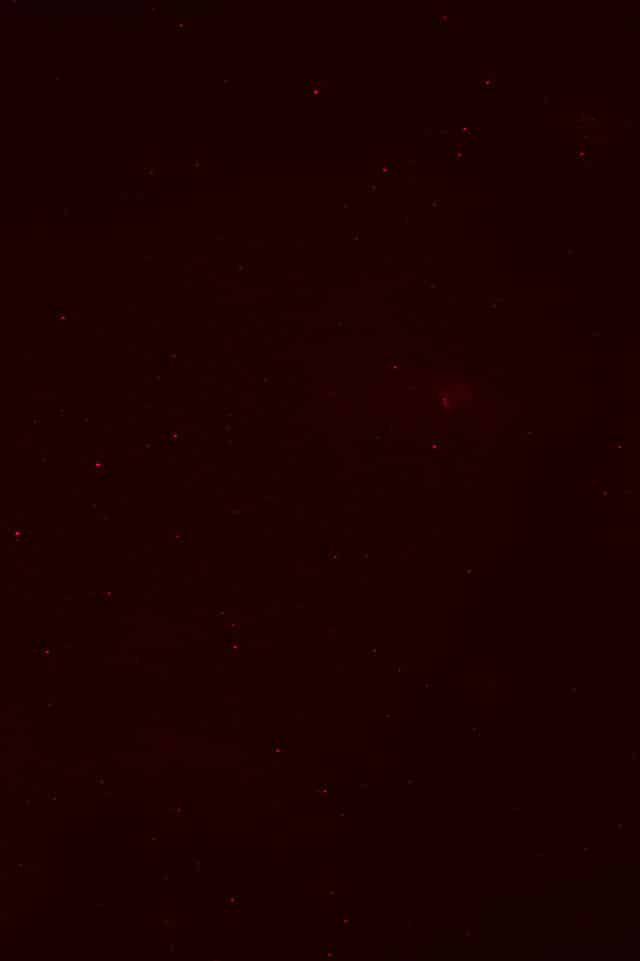
Before
After
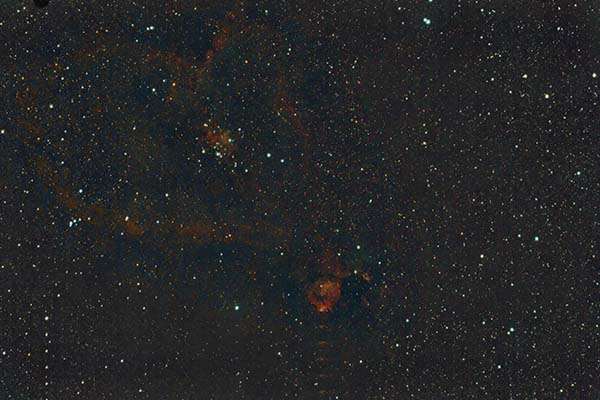
The above image was processed from the tiff file posted in Cloudy Nights forum. What I did to see if I could get a good result from this stacked image was to first do color calibration and reduce green noise in Siril and then process the image in Photoshop CC. Would you like to know more about this object? You can find out more about the heart nebula here.
Basically, in Photoshop I worked on some curves and levels adjustment and used the Astronomy Tools actions to take out space noise, reduce stars and increase some saturation. I am not happy with the end result but the nebula is there.
I believe the problem with the data is the high level of light pollution and the Gradient Xtractor tool was used to remove this (applying it two times). The image appears rather dark on the web and once converted to jpeg. Perhaps I should have lightened it further?
The original data was from 15 x 300-second exposures at ISO 800. I will try to capture my own version and see what I can get.
Astrophotography Photoshop Processing – Some of My Images Before and After
When I process my images I follow the following workflow generally:
- Sort through photos of the astrophotography target and reject those photos with star trailing, bad focus or tracking errors. I normally do this in Adobe Bridge.
- Stack the images in Sequator.
- Set colour calibration, reduce green noise, and do autostretch in Siril.
- Post-process images in Photoshop adjusting curves, levels, noise, saturation, etc.
On one or two occasions I have had some problems with images processed in Siril so I also save the raw stacked image so if there are any issues I can stretch and adjust these myself in Photoshop.
M101 The Whirlpool Galaxy
Before

After
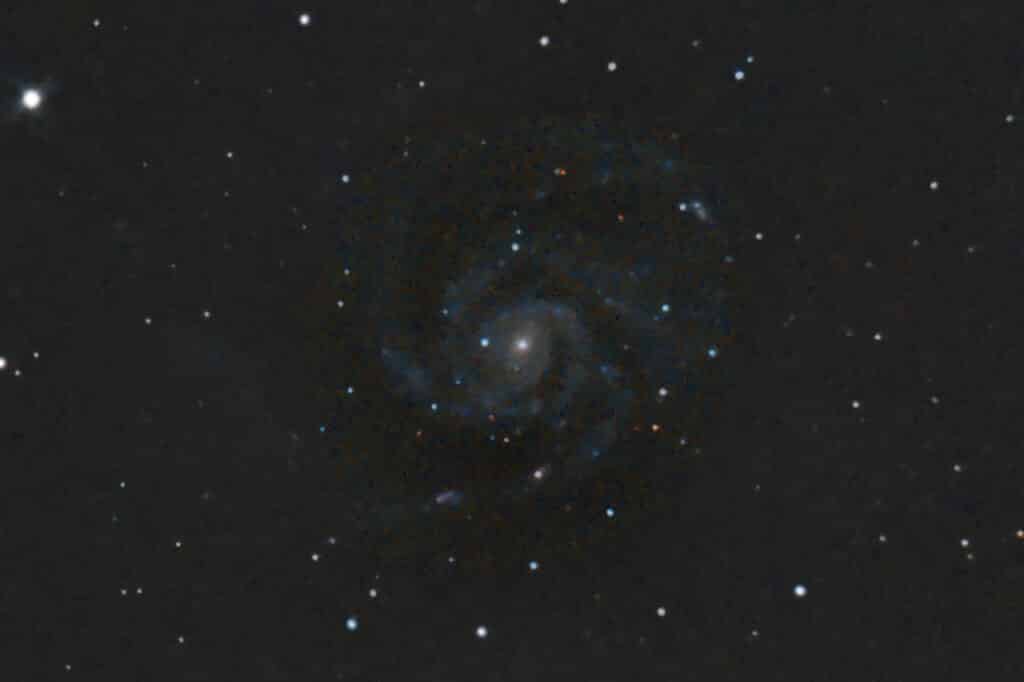
This image is the first I’ve taken of this target M101 and is just 1hr. of 45-second exposures at ISO 1600. I used darks when stacking. the difference between the RAW stacked image and the initially processed image in Photoshop is like night and day, don’t you think?
With time the processing skills you have as an astrophotographer will improve. I will add some of my latest images to this post to show you what I have now managed to do with Photoshop and a couple of clicks after more than a year and a half of experience in this journey.
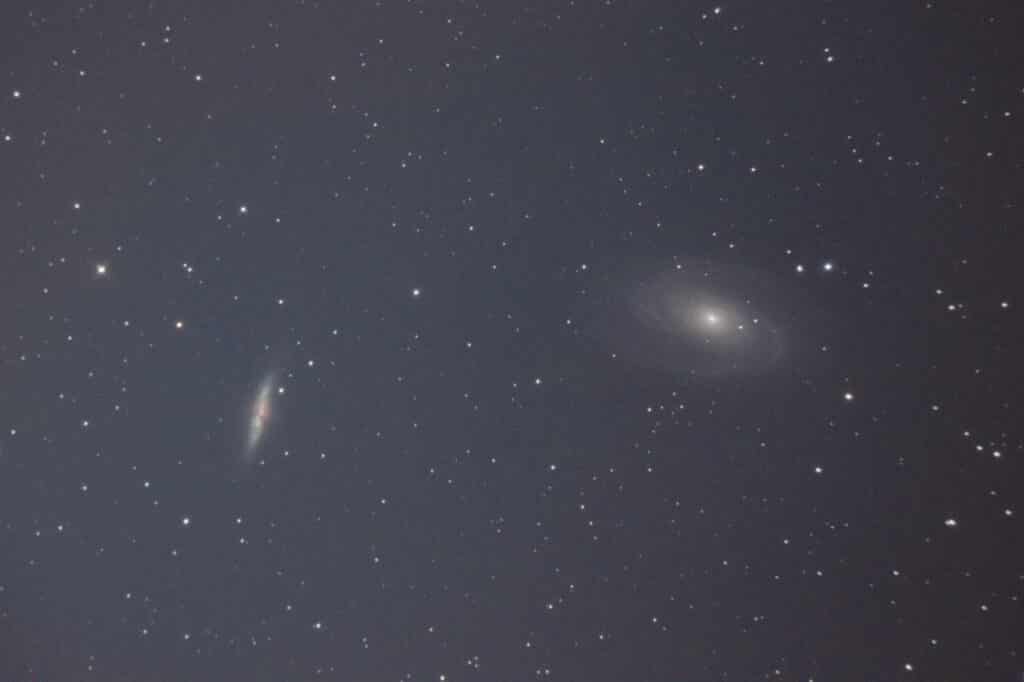
M81 and M82
Before
After
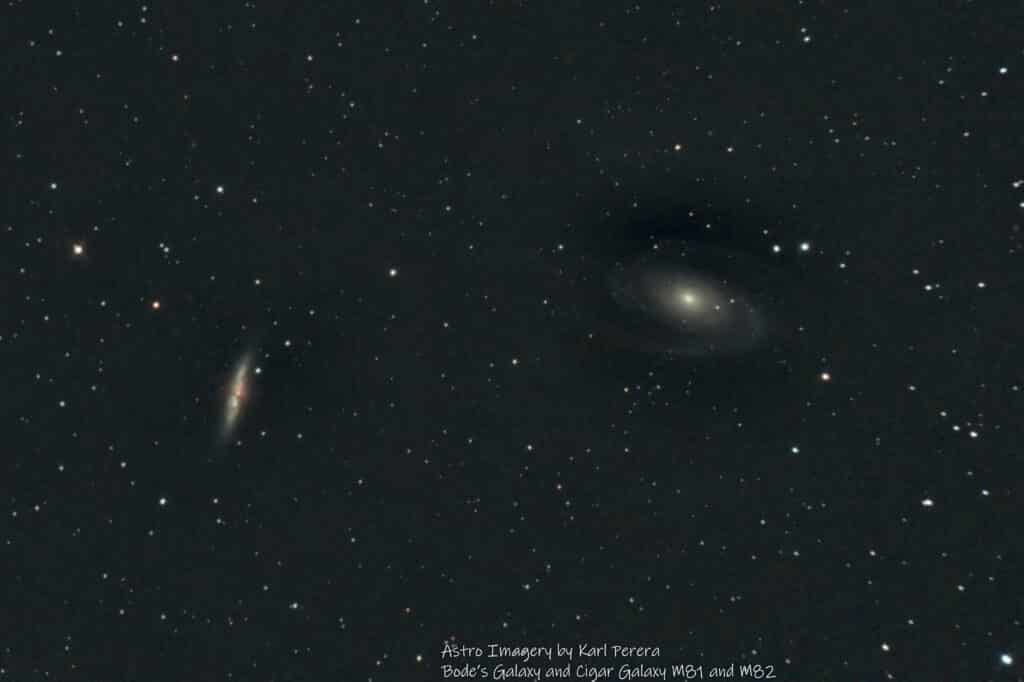
It can clearly be seen in the above pictures that Photoshop enables us to remove light pollution, (my skies are Bortle 5), any gradients caused by street lights, and so on, enhance contrast, reduce stars, and remove noise in the image. I do use darks in the stacking process and the more images that are stacked the lower the noise in the images. The photos of the Bodes Galaxy and the Cigar Galaxy are approx. 2hrs 15 mins of 45-second individual exposures at ISO 1600.
During the course of my amazing journey into astrophotography, I have experimented with a number of different programs that improve the stacking and editing of images. At first, as mentioned above I used Siril after stacking in Sequator for some processing but now I tend to go directly to Photoshop as my skills with using it have improved a lot.
So, let’s take a look at what can be achieved with better astrophotography Photoshop skills that someone with 18 months of experience might have. All of these are my own personal work imaged with my Celestron 130slt Newtonian telescope and using a Canon 600D modified for astrophotography.
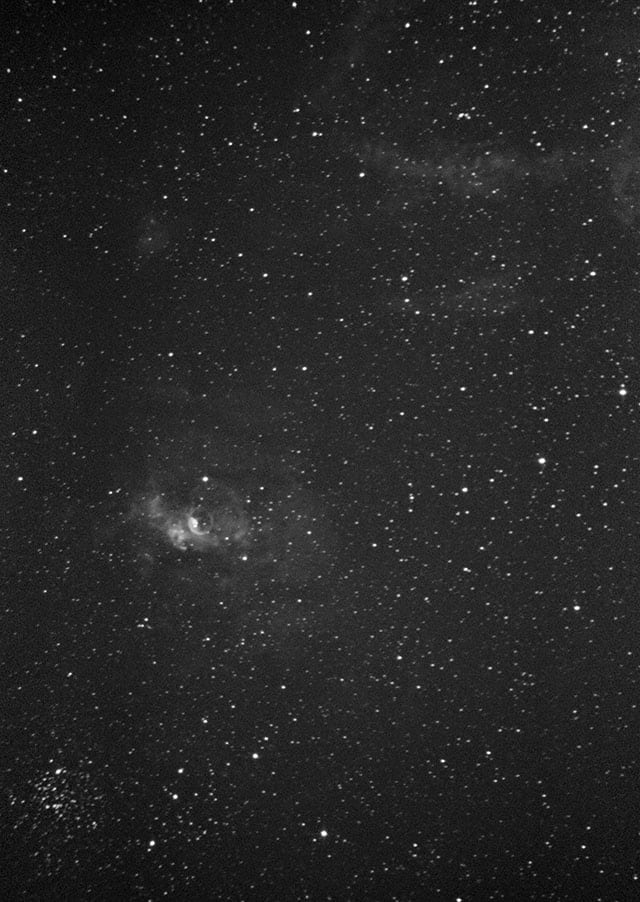
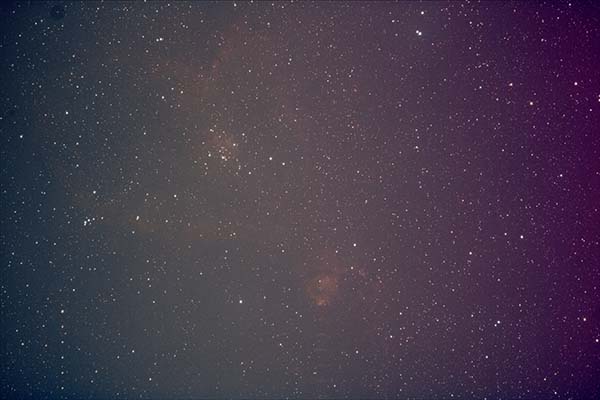
The above two images show the results of two nights of exposures I took of the Bubble Nebula (NGC 7635) from my back garden. The image was taken using a clip in Hydrogen Alpha filter during an almost full moon, which is the main reason I used the filter instead of taking normal colour images. The image consists of the following:
59 x 3-minute exposures at ISO 800
12 x 4-minute exposures at ISO 800
17 x dark frames of 3 minutes each
Total exposure time was 3 hours and 45 minutes.
Stacked in Sequator
Processed in Photoshop as shown in this helpful video by Trevor Jones of Astrobackyard.com. Basically two curve stretches and levels adjustment plus local contrast adjustment and enhance DSO and reduce stars in Astronomy Tools action set. Gradient extractor was also applied at a low level.
Conclusions
I am really happy, particularly with the last two images shown taken in hydrogen alpha. Of course, any image could do with more exposure, and in the future, I may add to this data. I also plan, as soon as the Moon wanes again, to add RGB colour data to this image and process a final image. This should be quite spectacular! I will add those images and write about how to process HA images and combine them with RGB data to produce a final image that should really pop! At the moment I am new to this process and still learning, so much more to learn…


