A wonderful pastime that enables us to take stunning photos of the night sky—that’s how I’d describe astrophotography. It can be tough, though, to capture objects in space in high quality because of a variety of issues, including atmospheric distortion, equipment limitations, and light pollution. One method astrophotographers employ is the dithering astrophotography technique to overcome these challenges. We’ll go over what dithering is, how it works, and why it’s an important astrophotography technique in this post.
Understanding the Dithering Astrophotography Technique
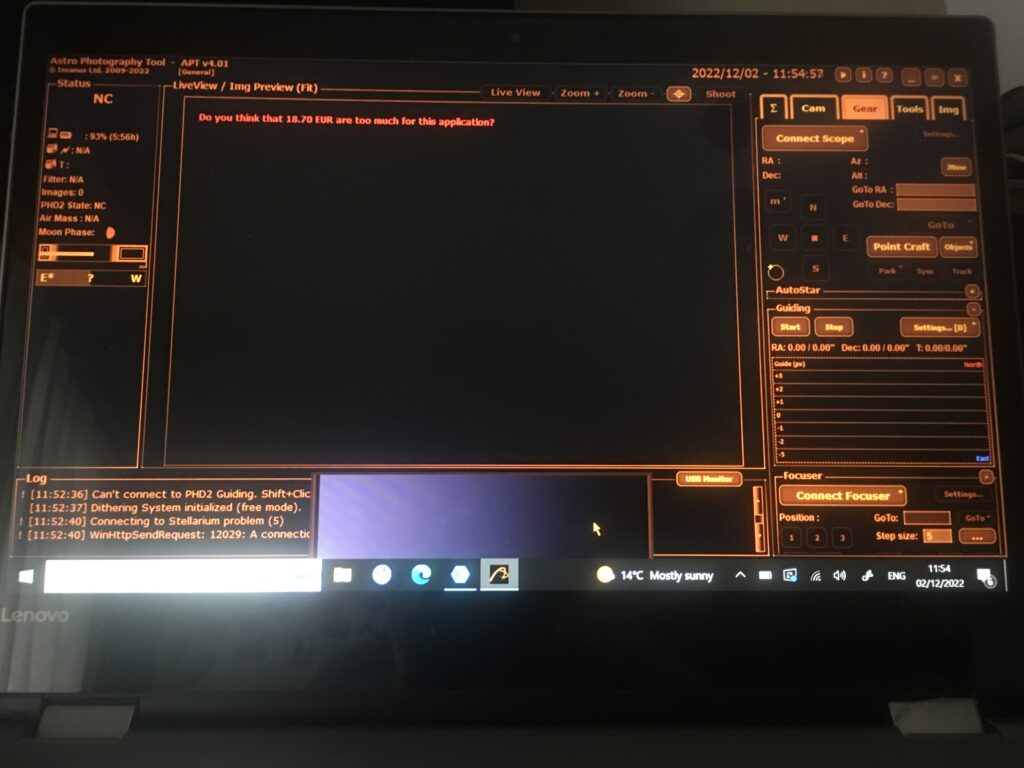
To explain the dithering astrophotography technique, we must first understand why it’s required. Slight tracking inaccuracies and other problems can cause our images to slightly shift from one frame to the next when we take longer exposures of the night sky. The equipment we use and its flaws are what cause hot pixels, noise, and other visual defects.
Noise is always present in photography because of the nature of the electronics used in cameras. Some cameras have less noise than others, but it is always something that we as astrophotographers have to deal with. It is best to introduce as little noise as possible when we image, but in many cases, we have to further reduce noise early on in our processing workflow. Stacking also reduces noise in proportion to the number of images you stack together.
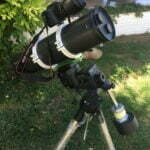
I first heard about dithering as I was spending time in the Cloudy Nights astronomy forum and posted an image of the Wizard Nebula which I was far from happy about. My image was looking very bad with way too much noise and not enough detail. This image was taken without any dithering applied and using a DSLR camera (a Canon 600D modified) through my Celestron 130mm SLt reflector telescope. I was taking two-minute exposures on a very hot night with temperatures of 30C.
I went on the forum and asked questions, and one person told me about walking noise and how dithering would cure that, so I watched several videos about astrophotography dithering on YouTube and put it into practise.
Another benefit of dithering astrophotography is that satellite trails or aeroplanes that appear in one or two frames can be eliminated in the stacking software after dithering. This is yet another reason to use it, as you don’t need to throw out those frames.
My first attempts at dithering were not very successful as I had some trouble setting it up in Astrophotography Tool, but a few days later I had figured that out and proceeded to capture images with no walking noise.
I now always use dithering as part of my normal astrophotography sessions and combined with auto guiding and using my new camera a ZWO ASI 533 MC PRO cooled to 0C I now have much cleaner data in my images and higher quality images.
I will return to this post and add some images to compare the effect that dithering has when I am able to conduct an experiment or find suitable images from previous imaging sessions.
Types of Dithering
There are a few different methods commonly used.
Frame-to-frame and sub-pixel dithering are the two main types. Dithering occurs when the telescope is shifted from frame to frame, usually by a few pixels. Hot pixels and other fixed-pattern noise can be greatly decreased with this technique. On the other hand, sub-pixel dithering involves shifting the camera sensor by a few hundredths of a pixel between shots. This technique, which uses software to accomplish it, is more effective in reducing random noise.
I understand that the movement between each frame helps the stacking software to average out random noise so the picture is better quality. It definitely seems to work!
To properly dither, one needs to move the telescope or camera in a precise manner, which requires the use of the appropriate tools. Dithering astrophotography routines that can be adjusted to your needs are already available in the majority of existing astrophotography software.
Check this if you need more explanation of how the dithering astrophotography method works.
Best Practices
There are a few basic practices you should adhere to if you want to dither with the best outcomes. The use of a suitable dithering algorithm that introduces unpredictable movements between frames is first and foremost essential. Secondly, you should check out for excessive movement in your dithering routine since it could lead to distorted or blurry images. The number of frames required to average out any remaining noise after dithering is also significant.
So by how much and how often should you set your software to dither?
That is up to you but in my experience, you don’t need to dither by more than 10 pixels and I usually do a bit less than that. As to how often some people recommend dithering every fifth image but I have found it easier to dither after each image and I’ve seen this work fine. It really doesn’t add too much extra time to your imaging so I think it’s worth it.
Advanced Dithering Techniques
Dithering is an important technique, and there are a number of more advanced methods you might use to achieve even better results. Use a dithering algorithm, for instance, that adjusts to the signal-to-noise ratio of the image, introducing more noticeable movements in places with more noise.
Which Software Should I Use to Dither?
Well, there are quite a few choices. NINA, PHD2 (auto-guiding software), APT (Astrophotography Tool), and Sharpcap are just a few of the more popular options. What do I use? I set up the dithering in APT, and it works in conjunction with PHD2 auto-guiding software. You need the two programmes to talk to each other because, if not, the dithering would be automatically corrected by the auto-guiding system and therefore cancelled out.
Conclusion
For astrophotography, dithering is a fundamental technique used to reduce noise, hot pixels, and other artifacts. Dithering helps to create smoother, higher-quality images of the night sky by creating controlled random motions between frames. Understanding and utilizing dithering should enhance your photographs, whether you’re just beginning astrophotography or are a seasoned pro.
So, there you go! Get dithering next time you’re out imaging! Why wouldn’t you?


